Motorcycle Stator Output Chart: How Much Aux Lighting Your Bike Can Run
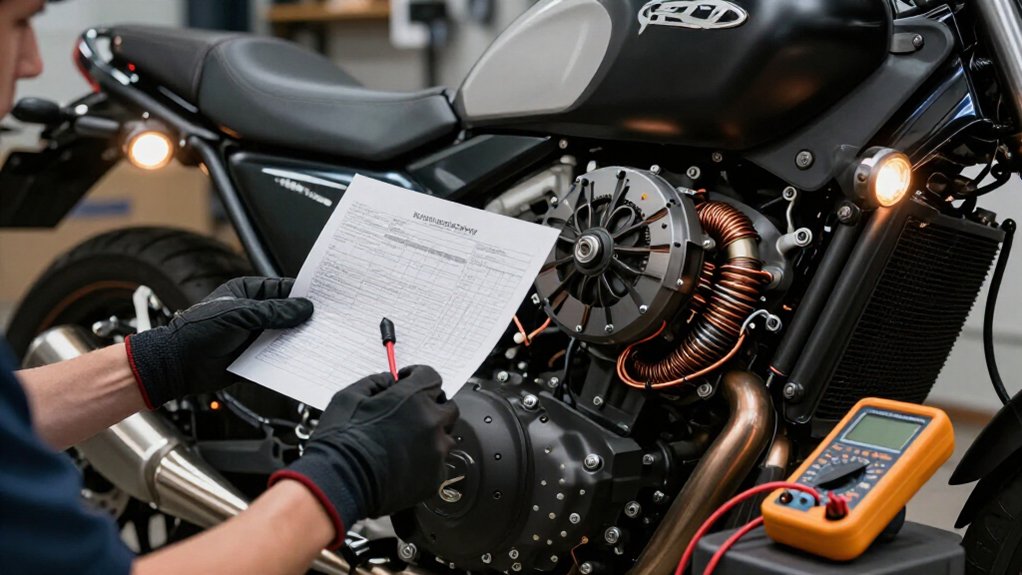
To estimate how much auxiliary lighting your bike can run, subtract about 55 watts for fuel injection, ECU, and ignition from rated stator output. Subtract another 25–30 watts if the stock headlight is on. Treat what remains as an estimate, not guaranteed spare capacity, and include every accessory.
With AC stators, confirm the converter’s current requirements and test output at typical RPM and idle. Check wiring and grounds, too: adequate wattage won’t prevent voltage drop or overheating.
Next, compare bike-specific loads and operating conditions.
Honda Stator Rewind Service
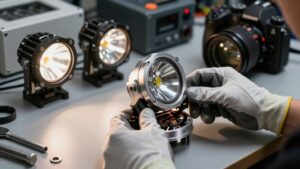
If your Honda’s stock stator can’t supply enough AC current for auxiliary lighting, a rewind or higher-output OEM-style replacement may restore capacity.
Before you commission work, test stator output and coil health; a damaged winding may need repair rather than a performance upgrade. Confirm your lighting system requirements: the stator produces AC, while auxiliary lights need DC through an AC/DC converter.
Baja Designs notes that its converter needs sufficient stator AC current, so verify you meet the roughly twice-the-lamp-wattage rule before planning a rewind. If your assessment shows little spare capacity after roughly 55W for fuel injection, ECU, and ignition, added lighting may increase battery reliance. Have a reputable specialist, such as Jolt Stators, rewind serviceable coils. After installation, recheck output and connections.
Stator Wattage Comparison Chart
After a rewind or replacement, compare your bike’s available stator output with the wattage of each accessory. Use each light’s rated draw; a 36-W bar typically uses about 36 W across its specified 9–32-V range. Check A/C output first: Baja Designs lights require D/C, so sufficient A/C must feed conversion; battery voltage alone doesn’t confirm compatibility.
A practical estimate leaves about 55 W for FI/ECU/ignition; subtract that from stator output to find accessory headroom.
| Setup | Planning signal |
|---|---|
| 70 W | Tight margin |
| 196 W | More headroom |
| 30 W pair | Typical aux draw |
Your limit depends on headlight model and configuration: some 24–26 models reach 196 W; SX/XC-F examples may provide 70 W. Verify your bike’s setup and output; figures aren’t guaranteed reserve. Stay within conversion and wiring limits to avoid battery discharge or losing light on road.
Stock Electrical Load Draw
Before budgeting auxiliary lights, account for the bike’s stock electrical draw: start with roughly 55 W for fuel injection, ECU, and ignition, then add about 25–30 W if the stock headlight is on. Treat the remaining capacity as a budget, not a guarantee: stator output minus roughly 55 W gives estimated spare watts before accessories.
If your chart lists “none” spare watts, the stator can’t cover that baseline at rated output; your battery must supply the shortfall. Include the headlight and other required loads before evaluating auxiliary LEDs.
For example, a 30 W aux pair, 5 W GPS/USB unit, 25 W heated grips, and a 35 W fan add directly to your load. Keep combined demand within available capacity, and verify each device’s draw and operating requirements.
Idle-Speed Output Variation
At idle, your stator may deliver less usable power than it does at higher RPM, limiting auxiliary-light output and destabilizing voltage. If your LEDs stay dim as you rev, check the charging and regulation path before assuming RPM alone will restore brightness.
Test idle capacity with a voltmeter and a small incandescent load, and confirm any AC/DC converter receives enough current to operate safely.
Output at Idle
With the engine idling, many motorcycle stators provide far less usable power than they do at cruising RPM, so auxiliary LED lights may dim or switch off even if they’re rated for a wide voltage range. At idle, include your stock headlight and instrument lights in the load test; they draw current first, leaving less capacity for auxiliary lamps.
LED driver behavior also affects current demand, so stated wattage alone won’t predict idle performance. If supply can’t cover the load, a battery may buffer current, or an AC/DC converter may help stabilize lighting.
Confirm compatibility, fuse wiring, and monitor system voltage during use. A check showing lamps stay on doesn’t prove continuous charging capacity; insufficient output can discharge your battery or compromise lighting.
RPM Output Changes
As engine speed rises, the stator’s AC output generally increases, but your auxiliary LEDs will brighten only if the charging system has spare current beyond the bike’s baseline load.
At idle, many bikes’ stators provide less usable charging current than at cruising RPM, so brightness may remain unchanged as you raise revs. If light output doesn’t rise, check whether the stator and regulator/rectifier increase system output; a controller, such as a Podtronics unit, can limit it.
Don’t treat a voltage reading as proof of charging headroom: idle measurements can mislead. Compare readings at specified RPM using the manufacturer’s procedure and care around rotating parts. For planning, use rated charging capacity and estimate spare watts by subtracting about 55 W for baseline draw; don’t assume rated output is available at idle.
Lighting Load Impact
Your lighting load can expose weak idle-speed output: a 36 W auxiliary LED package plus instrument lamps may exceed what the stock stator can supply at idle, even if the lights perform normally at cruising RPM.
Stator output rises with engine speed, so your auxiliary LEDs and headlight may dim at a stop and brighten as revs climb. Test with a realistic load, such as the front light and one instrument lamp; extra draw changes whether the stator supplies current directly.
A Podtronics-style regulator-converter may behave inconsistently if generator output is marginal at idle. Compare lighting behavior at idle and higher RPM, then measure current and voltage against your bike’s baseline. Don’t treat normal cruising performance as proof that the load suits prolonged idling.
Voltage Stability Risks
At idle, a stator’s RPM-dependent output can sag or fluctuate, making auxiliary LEDs dim or erratic even when the stator can meet their load at higher speeds. This variation reflects alternator output changing with engine speed; it can leave your lighting below its intended current draw.
If brightness barely changes as you rev, the regulator/rectifier or converter’s rectifier may not be controlling voltage and current correctly. On Podtronics-style A/C-to-D/C systems, the conversion unit needs a battery or stable D/C support to maintain steady output; without it, your lights may behave unpredictably at low speed.
Base auxiliary lighting plans on both stator A/C output and regulator/converter limits. Protect your lights and electronics from instability.
Testing Idle Capacity
Because stator output falls with engine speed, an auxiliary light may remain dim at idle even if it brightens when you rev.
Test with only target loads, such as a 36-watt front LED and one instrument bulb. Check whether light voltage or current stays steady from idle to moderate RPM; a drop shows your system can’t sustain the load.
Use a voltmeter to compare battery-side and stator-side readings under load. A large gap, about 12.6 V at the car versus 3.0 V at the bike, indicates inadequate idle supply.
An AC/DC converter still needs enough AC current at low RPM to run lights at rated brightness. For AC tests, use a small incandescent lamp as a known resistive load, and avoid overloading your system.
Matching Lights to Riding Conditions
When matching auxiliary lights to riding conditions, size them for the RPM you’ll actually ride at: many stators provide less usable current at idle, so LED output can sag even when rated capacity looks sufficient.
Budget steady loads in watts, not just stator ratings. A 36W front light draws from the capacity remaining after fuel injection, ECU, and ignition loads, about 55W in the example, plus any instrument demand.
For mixed riding, choose light wattage and voltage/current specifications that stay within available output at your usual RPM. A light rated for 9 to 32V and up to 3A at 12V can still exceed your margin. Test under riding conditions: if lights brighten with a jump-start but not higher revs, demand may exceed supply. With an AC stator and converter, verify adequate AC current at typical RPM.
Connector and Wiring Heat Limits
Even if your stator supplies enough wattage, undersized wires or weak connectors can overheat under the added load of auxiliary lights.
An LED pair may draw about 30 W, plus your stock headlight, raising current through splices. Rate each connector and terminal for the circuit’s current.
For example, a 36 W front LED at 12 V draws about 3 A; higher voltage and current spikes increase heat stress on undersized pins. Choose the correct wire gauge for each stator, regulator/rectifier, and auxiliary feed. Small wire causes voltage drop and extra heating at contacts. Route wiring away from vibration and hot components, and add strain relief. Oxidation or poor crimps increase resistance: inspect discolored terminals, retension or recrimp them, and avoid stacked adapters that concentrate current at one terminal.
Adding Heated Gear Load
A heated vest can draw about 50 W, so add its load to your auxiliary lights and other accessories before comparing the total with the stator’s rated output.
First, account for the stock headlight, which adds 25–30 W on lit models. Subtract about 55 W from stator output for the fuel-injection pump, ECU, and ignition; the remainder is spare capacity. Keep combined lighting, heated gear, and accessories within that figure at the bike’s rated charging output.
A 50 W vest can use much of that margin beside an LED pair drawing about 30 W. If your chart shows no spare watts, the battery carries the load; brightness or power stability may fall when it can’t keep up. You may need higher RPM or intermittent use, but neither makes an overloaded setup safe.
Diagnosing Weak Ground Connections
Dim auxiliary LEDs don’t always indicate inadequate stator output: a weak ground can cause voltage to drop at the lights under load, making them seem power-limited even when the charging system is adequate.
With auxiliary lights on, measure voltage drop from the light’s ground lead to battery negative; expect only a very small reading. A large drop signals resistance in the ground path.
- Secure each light ground to bare, bright metal.
- Reject painted surfaces and loose ring terminals.
- Inspect the main harness ground; tighten it and remove corrosion.
- Check the reg/rec-to-frame ground for tight, clean contact.
- Note odd charging behavior between low and higher RPM.
If a safe, known-good ground or car-battery jump instantly restores brightness, suspect grounding, not insufficient stator wattage; avoid shorting terminals.
Battery-Terminal Voltage Test
After confirming the ground path, measure voltage directly across the battery terminals with the ignition on, first at idle and then at a higher RPM. Use a meter set to DC volts; connect probes securely without shorting terminals.
- At rest, ~12.6 V indicates a charged battery.
- Running voltage usually rises toward 13.5–14.5 V; specs vary by bike and regulator.
- Compare idle and raised-RPM readings; little recovery suggests charging trouble.
- About 3.0 V at the bike battery, versus a car battery’s 12.6 V, means it isn’t being charged there.
- If a jump source brightens LEDs but revving doesn’t restore voltage, suspect the stator or regulator, not LEDs.
Repeat with aux loads, including 36 W front LEDs and instrument lighting; voltage drop reveals whether output supports them. Keep leads clear of moving parts.
Conclusion
Before adding auxiliary lighting, compare its draw with your bike’s measured charging output, not just its peak stator rating. Account for stock loads, idle-speed shortfalls, connector heating, heated gear, and ground voltage drop. Test voltage at the battery across operating conditions, and inspect wiring and terminals for damage or excess heat.
If capacity remains inadequate, reduce the load or have a qualified shop rewind and verify the stator. Keep a charging margin for safe operation.