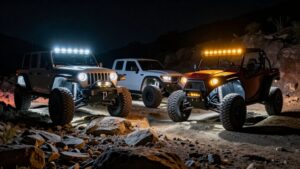
How to Install Rock Lights Without Drilling Into Your Frame
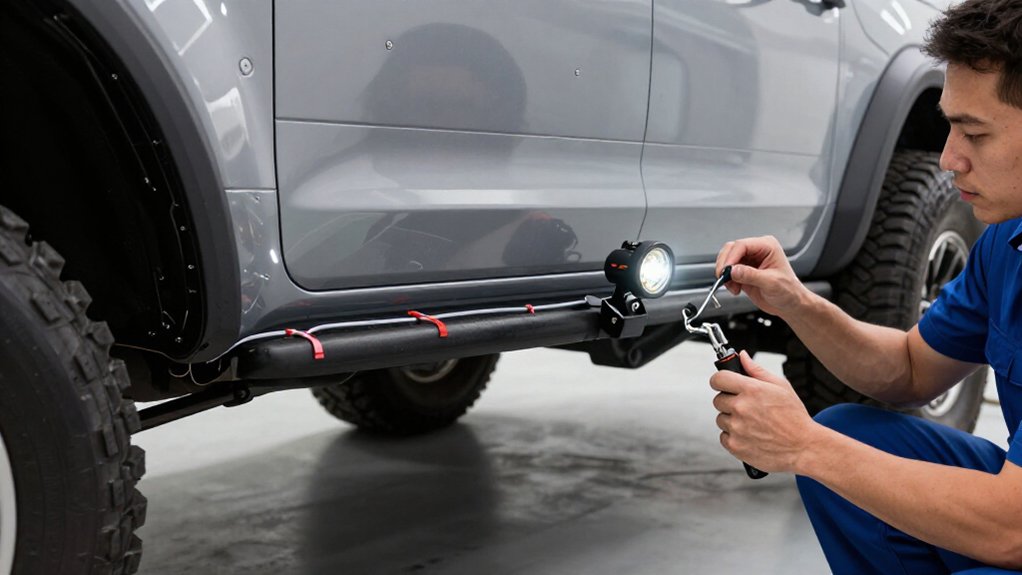
You can install rock lights without drilling by attaching pods to factory holes, existing brackets, or clamps.
Chock the wheels, set the brake, and let the exhaust cool before working underneath; use jack stands if lifting the truck.
Clean and dry mounting surfaces, then secure pods and route wiring away from heat and moving parts.
Check full-lock clearance and local lighting rules.
The steps below cover connector care, aiming, and post-drive checks in more detail.
No-Drill Mounting Options
If you want to avoid drilling, mount rock-light pods to the wheel-well liners with the kit’s brackets and screws or strong zip ties, or use clamp-on mounts that attach to the frame, existing bolts, or U-clamps. Position each pod slightly outward and downward toward the tire contact patch for useful ground light. Tighten clamps securely, then check clearance through steering and suspension travel so hardware won’t contact tires, hoses, or moving parts.
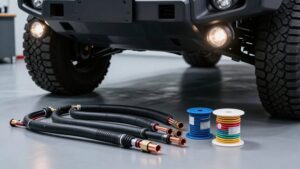
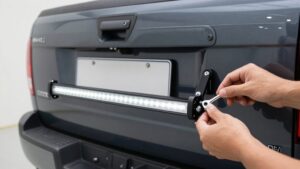
For a wider layout, use gutter-style or under-body bars secured to factory holes and brackets, not bare frame steel. Protect exposed wire runs with split loom or conduit, and keep wiring clear of heat and abrasion.
Magnetic or adhesive mounts suit temporary or show use only; follow the kit’s surface and temperature ratings, and add mechanical fasteners for trail durability. If drilling seems necessary, choose a zero-drill harness that uses existing mounting points; connect through a fused relay and test every pod before securing the wiring.
Check Local Mounting Regulations
Before fitting the pods, check your local and state lighting rules: permitted colors, aiming and visibility, mounting height or projection, and whether auxiliary lights must be covered or switched off on public roads. Rules vary, so verify the current code before choosing a location; a no-drill bracket doesn’t exempt your setup from lamp or inspection requirements.
- Confirm allowed colors; red or blue may be restricted.
- Check aim and visibility; don’t dazzle other drivers.
- Verify height, projection, and highway cover or shutoff rules.
- Check switch, inspection, and off-road-only requirements locally.
Ask inspection authorities whether aftermarket lamps need labels, records, or approval, even when installed without drilling. For trail-only pods, confirm the definition locally and keep them off on prohibited roads, as required by law.
Step 1: Chock Wheels; Cool Exhaust
Park on level ground, set the parking brake, and chock the wheels before working near the wheel wells or frame; use jack stands if you need to lift the truck. Keep the truck stable while routing the harness; never rely on a jack alone. Place pods at wheel-well liners or factory openings and bolt holes, avoiding frame-rail drilling.
Let the exhaust cool before routing wires beneath. Keep the harness opposite hot exhaust along the engine bay and underbody. If your kit includes a relay, secure it and its battery lead on a cool, protected route. Cover exposed wiring with corrugated loom to limit heat damage. Check clearance from suspension links and the driveshaft before tightening zip ties; verify the harness stays clear as suspension moves.
Step 2: Clean Mounting Surfaces
With the truck stable and the exhaust cool, clean the mounting area so brackets, grommets, or clamps can hold securely.
Wash road grime from wheel well liners and frame area. Wipe contact points with isopropyl alcohol to remove residue, helping adhesives or inhibitors bond. If paint or oxidation blocks a metal mount, remove it or follow the kit’s prep.
Let the surface dry completely before fitting hardware.
Lightly scuff contact spots and deburr them; eliminate sharp edges that could abrade wire loom during vibration. For a plastic liner mount, check the liner isn’t cracked and existing screw or clip points remain intact. Dry-fit the pod, aim it outward and downward, then mark the position only when the surface is clean and flat enough for a vibration-resistant connection.
Step 3: Secure Pods to Existing Brackets
Use factory wheel-well clips, skid-plate or rock-rail holes, or bumper-bracket bolts to secure each pod without drilling the frame. Choose a mounting point that keeps the pod clear of moving suspension parts, brake lines, and the tire throughout its full travel. Use the kit’s U-bolts or clamps, or reuse an existing fastener with corrosion-resistant bolts and washers.
For a liner-mounted bracket, use the correct-length self-tapping screws in OEM-style holes and fit a thin rubber isolator to limit vibration and rattle. Keep the bracket snug but loose enough to aim the pod before final tightening. In each wheel well, angle the light slightly outward and downward toward the tire’s contact patch. Don’t aim opposing pods directly at each other; that can create a hot spot.
Step 4: Route Wires Along Loom
Once each pod is aimed and secured, protect its wiring in split loom from the pod back to the relay or harness location.
Run each wire inside the loom while following the frame’s contours, keeping every exposed section covered from end to end. Use the outer edges of the frame or underbody to stay clear of exhaust heat, the driveshaft, and suspension links.
Secure the loom to the frame or existing factory harness points with zip ties about every 6–8 inches. Leave a small service loop at each pod connection; a little slack keeps the wire from pulling taut during articulation or while you tighten pod hardware.
If the route enters the cab near the firewall, continue the loom through that section too. Check that ties hold firmly without pinching the wires.
Step 5: Aim Beams Away From Tires
Aim each wheel-well pod slightly outward and downward so it lights nearby rocks and ground without shining directly onto the tire tread or sidewall. Leave the brackets loose while you set each angle; then correct any beam that points back at the tire before tightening the hardware.
If you’ve installed multiple pods, aim them away from one another to avoid overlapping beams that reflect off the rubber and create glare or washed-out hot spots. Where your kit allows, position lights under the frame or inside wheel-well liners; these locations help keep beams clear of spinning tire surfaces while lighting obstacles near the contact patch.
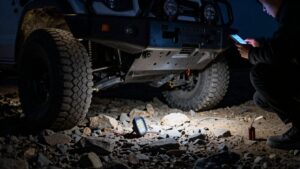
At night, walk around your truck; confirm beams stay on nearby ground, not tires. Adjust any pod causing noticeable glare.
Step 6: Add Connector Drip Loops
After aiming the pods, route each lead toward the harness with a small drip loop: keep the wire’s lowest point below the connector so water runs off before reaching the plug or splice.
Place the connector interface above the loop’s low point so runoff drains away during rain, snowmelt, or wash-downs. Leave a few extra inches of lead at each pod; that slack preserves the loop as the frame flexes and tires move, without loading the connector. Secure the loop with zip ties so suspension movement can’t flatten it. Use marine-grade heat-shrink butt connectors or sealed plug connectors, then cover the wiring with loom to resist abrasion and help hold the loop’s shape. Route leads away from sharp edges and protect exposed sections from heat.
Verify Clearance at Full Lock
Before mounting the pods, turn the steering wheel fully left and right to check how tie rods, control arms, and CV boots move near each planned bracket and wire route.
With the truck safely supported, inspect each route at both steering stops. Keep a few centimeters of slack so steering and suspension movement can’t pull, pinch, or rub the harness. Check that it stays clear of the tire, wheel-well liner edges, and pinch points.
If you run loom along the frame, confirm turning won’t force it against a frame lip or rub-through point. Ensure each pod has clearance behind the wheel and underneath; it mustn’t touch the tire tread, fender, liner, or mud flap through the full steering range. After aiming pods slightly outward and downward, zip-tie the loom every six to eight inches, then repeat the checks before lowering the truck.
Stop if a component approaches or contacts a wire; reroute and secure it before driving.
Connector Corrosion Fix
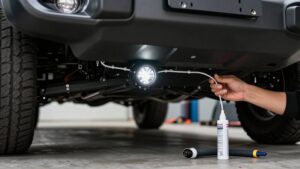
When a rock light flickers or fails, corrosion at the connector may be interrupting the circuit. Unplug the affected pod, then clean its pins with electrical contact cleaner and a soft brush. Let everything dry completely before reassembly. Apply dielectric grease inside the housing and a light film on the terminals to limit moisture and oxygen exposure.
| Connector condition | Your response |
|---|---|
| Light oxidation | Clean, dry, grease |
| Pitting or loose pins | Replace connector |
Don’t rely on cleaning if you’ve found green or white oxidation, pitting, or loose pins; replace the connector for reliable low-resistance contact.
Seal harness joints with adhesive-lined heat-shrink butt connectors or marine-grade sealed connectors, not bare crimps. Afterward, route cable through loom or conduit and secure it every 6–8 inches to reduce flex stress and water entry, especially in wet locations. Disconnect power before servicing, and verify the circuit works after reassembly.
Inspect Mounts After the First Drive
Make your first inspection after 10–20 miles or a few short off-road sections.
Inspect every rock-light pod for loose screws, cracked brackets, or movement off aim. Check zip ties and conduit for tight fits, and make sure no harness rubs suspension links, the driveshaft, or exhaust.
Look for vibration marks, scuffs, or exposed wire where runs pass frame edges or wheel-well liners. Compare each pod’s beam direction with the ground near tires; correct any drift that creates a washed-out hot spot, especially at wheel wells. Then cycle the switch and confirm every pod lights without flicker or dimming. Recheck the inline fuse and seat the harness connector at the relay. Tighten or reroute components before another drive to prevent vibration from worsening damage or exposing wiring.
Conclusion
Install rock lights without drilling by choosing existing brackets or approved mounts. Before you start, check local rules, chock the wheels, and let the exhaust cool.
Clean mounting surfaces, then secure every pod and route wiring away from heat and moving parts. Add drip loops at connectors to limit water entry. Turn the steering both ways and confirm clearance.
If corrosion appears, disconnect power and repair the connector. After the first drive, inspect mounts and wiring.