Rock Lights Not Working? A Troubleshooting Guide for Dead Pods and Apps
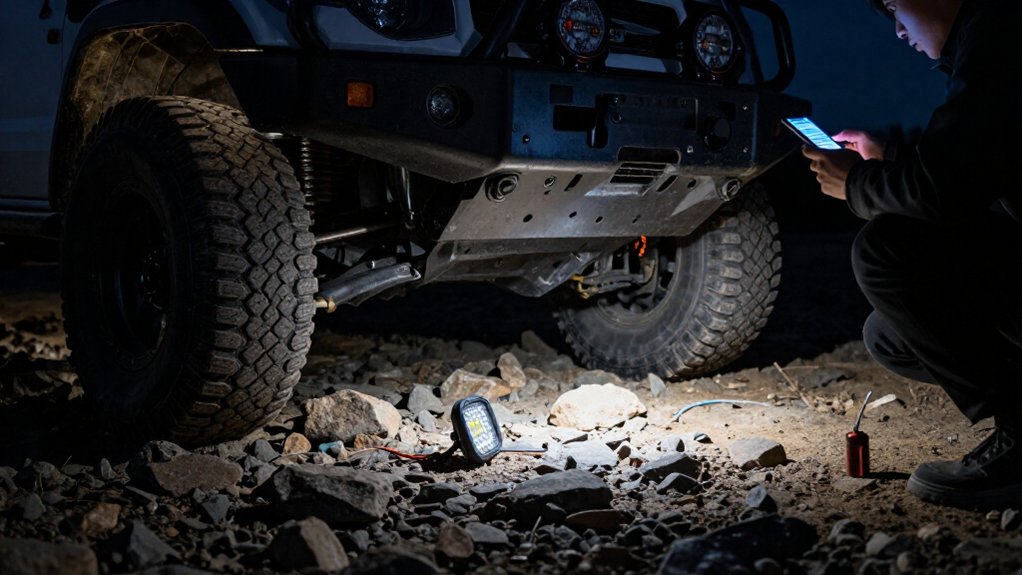
If a rock-light pod is dark, disconnect power before inspecting plugs, then swap it with a known-working output. If it stays dark, the pod may have failed; if it lights, suspect the original output.
Check the control box’s 12V supply and pod connector for 5V, but never bypass the controller or apply battery voltage to a pod.
Reseat dry connections, enable Bluetooth, and test a color.
The steps below help isolate wiring and app faults.
Test a Single Dead Pod
Isolate a dead pod with a swap test: unplug it and connect it to the output of a known-working pod. Watch what happens after reconnecting the system. If the suspect pod stays dark on that working output, the LED pod has likely failed internally. If it lights there, the original output is the likely fault: check whether its connector seated fully, and look for a damaged lead between pods.
Before reconnecting, check connector orientation; align the two arrows on both sides. Also inspect the cable between the control box and pod for fraying or water-related corrosion at connection points. Use the result to isolate the fault rather than replacing parts blindly. If the failure follows the pod, focus diagnosis on the pod itself; otherwise trace the original output and its connections.
Tools, Materials, and Safety
Before troubleshooting, disconnect kit power and confirm the control box receives 12V; the pods themselves run on 5V. Use this checklist to prepare a controlled inspection and avoid damaging the LEDs:
- Check the ORACLE ColorSHIFT app only after enabling Bluetooth and turning Airplane Mode off; app control requires Bluetooth.
- Keep power disconnected while you inspect connectors, wiring, and pod cables for damage or loose seating.
- Never bypass the control box or feed voltage directly to a pod; either can permanently damage its LEDs.
- Don’t cut or modify pod cables; use ORACLE Rock Light Extension Cable, Part #5814-504, when you need added reach.
Reconnect power only after wiring and connector integrity checks pass, reducing short-circuit and blown-fuse risk. Then carefully verify Bluetooth app control again.
Step 1: Disconnect the Vehicle Battery
To prevent shorts or LED damage, turn off the rock light system and disconnect the vehicle battery before handling any wiring.
Leave the battery disconnected for 10–30 seconds to let the control box fully lose stored power and reset. This pause helps clear a latched fault before you test the circuit. Keep the battery disconnected while you inspect connections; don’t probe or move wiring with the system energized.
Reconnect the battery, then measure for 12V at the control box. If voltage is present, evaluate controller response before concluding that the pods or app have failed. Never bypass the control box or apply vehicle voltage directly to the pods; direct voltage can irreversibly damage their 5V LEDs.
With power restored, enable Bluetooth, reset the app, and test whether your phone reconnects and the controller responds. If the app can’t detect it, confirm the control box has power.
Step 2: Prepare a Fused Jumper Wire
If you need to test power at the controller or pod side, prepare a fused jumper wire using the system’s specified fuse rating. Confirm the correct 12V feed point you’re testing at the identified control-box input or output. Make a clean, tight connection, and insulate every exposed connection to prevent accidental contact.
Keep the inline fuse in the jumper lead; it helps limit damage from a surge or short that could harm the pods’ 5V circuitry or LEDs. Don’t apply direct voltage to a pod lead or skip the proper 5V-regulated controller path.
Once you’ve completed the measurement, remove the jumper immediately. Then resume normal checks: verify power at the control box, inspect cables and connectors for damage, and swap pods as needed to isolate a fault.
Step 3: Bypass the Controller for Testing
Don’t bypass the ORACLE ColorSHIFT controller with random 12V wiring: the pods run on 5V, and direct voltage can permanently damage their LEDs.
If you suspect a controller or wiring fault, confirm 12V at the control box before taking action. Turn power off and re-seat the control box connections; don’t apply battery power to a pod or probe its leads with an improvised jumper.
To isolate the fault safely, unplug the suspect pod and connect it to another controller output. Restore power only after securing the connection, then check operation. If that pod still fails on the alternate output, it’s likely defective. If a known-good pod also fails on the original output, suspect that controller channel or its wiring.
Don’t bypass either; repair or replace the faulty component before returning the system to service. Keep the harness dry, supported, and clear of sharp edges during testing.
Step 4: Measure Voltage at the Pod
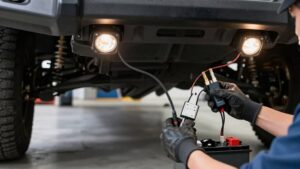
After checking the pod on another controller output, measure voltage at its connector while the app commands the lights on. Set your multimeter to DC volts and back-probe the pod feed and ground without shorting adjacent terminals. The reading should be close to 5V DC, because the controller supplies the pods at 5V.
If you measure 0V or nearly zero, the pod isn’t receiving power; investigate the upstream control box output, power wiring, fuse, or ground. If voltage is present near 5V but the pod stays dark, suspect failed pod LEDs, not the supply. Keep the system in its normal configuration during this test. Don’t bypass the control box or apply direct voltage to the pod; that can irreversibly damage its LEDs.
Step 5: Inspect Connectors for Corrosion
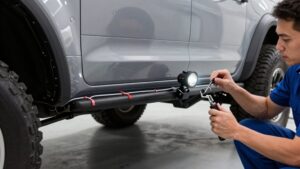
With the system switched off, unplug the affected pod connector and inspect its housing and metal contacts for moisture, corrosion, or green, white, or rusty buildup. Check the cable ends from the control box to the pod, too; off-road water exposure can carry moisture into the connection and interrupt the LED’s power path. Inspect contacts for damage. If the connector is intact, reconnect it until it clicks or fits tightly; poor seating can mimic a failed pod despite available power.
Unplug and reseat it to confirm the housing is clean and engaged before you test the pod. Don’t energize exposed or wet connections. If corrosion is severe, or the connector or wiring is damaged, replace the connector assembly; don’t cut or modify the pod cable.
Step 6: Apply Dielectric Grease Safely
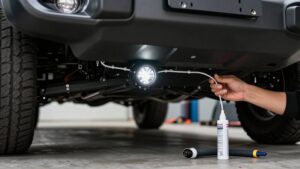
To help keep moisture out, unplug the pod and check the connector for water, dirt, or rust before applying dielectric grease. Disconnect power before handling the wiring, and don’t apply grease to a live connection. After inspection, dry and clean the connector; dielectric grease won’t repair damaged terminals or replace a sound electrical contact.
Spread only a thin film on the inside surfaces of the pod plug and connector. Don’t pack the cavity: excess grease can keep terminals from making proper contact. Reconnect the pod until you feel or hear a firm click, then secure the cable with the connector facing sideways or down to limit water collection. If it still won’t power, check power, ground, and fuse circuits instead of reapplying grease again.
Confirm App-Controlled Pod Response
First, confirm your phone’s Bluetooth is on and Airplane Mode is off, then select the correct Rock Light controller in the ORACLE ColorSHIFT (Happy Lighting) app. Before testing, secure the vehicle and keep hands clear of moving parts. Disconnect power to the control box for 10–30 seconds, reconnect it, and send one simple single-color command, such as white or blue. Observe each pod without touching exposed wiring.
If nothing responds, update the app to its latest version, fully close it, then reopen and retry. Confirm pairing under controller settings or Happy Lighting app settings.
If one pod stays dark, disconnect power before moving it to another control-box output; test that pod there. Pods use 5V, so use only the correct output and reconnect power.
Check for Voltage Drop
If the pods still don’t respond, check for voltage drop before troubleshooting the app further. Park safely, switch off the ignition, and use a multimeter to verify the control box receives the correct 12V battery supply.
Pods run on 5V, so a drop along the controller-to-pod path can leave them dark. Compare input voltage with output readings.
| Checkpoint | Reading or sign | Likely meaning |
|---|---|---|
| Box input | Correct 12V | Supply reaches controller |
| Output/plug | Low voltage, loose click, corrosion | Harness resistance |
With power isolated, inspect fully seated plugs; each should click securely. Check cable sections and connectors for fraying, moisture, or corrosion. If output voltage falls below expected input, suspect harness resistance, not the app. Don’t probe exposed conductors while energized; follow meter instructions carefully.
Protect Wiring From Trail Debris
Trail debris can snag wiring or wear through its insulation, so route the harness away from wheel wells and secure it along the vehicle. Keep wiring clear of branches and rocks, with no slack near tires or moving parts. Check frame crossings: vibration can wear insulation where a pinched harness rubs sharp metal.
Secure the run with quality zip ties, but don’t cinch them enough to cut the jacket. Point connectors sideways or downward to prevent water and dirt pooling and corrosion. After a rough ride, inspect the full route from control box to each pod for frayed insulation or damaged plugs.
Repair defects before testing the app or controls, and don’t drive until wiring is safe to prevent shorts and intermittent pod failures.
Conclusion
If your rock lights won’t respond, isolate the fault before replacing parts. Test one pod, verify fused power and ground, then bypass the controller as directed; never probe live wiring carelessly. Confirm app pairing and controller response, and measure voltage under load to catch excessive drop.
Disconnect the battery before repairs, protect each connection with dielectric grease, and secure wiring away from trail debris. If readings remain uncertain, stop and have a technician inspect the system.