How Many Rock Lights Do You Need? Pod Counts for Jeeps, Trucks and UTVs
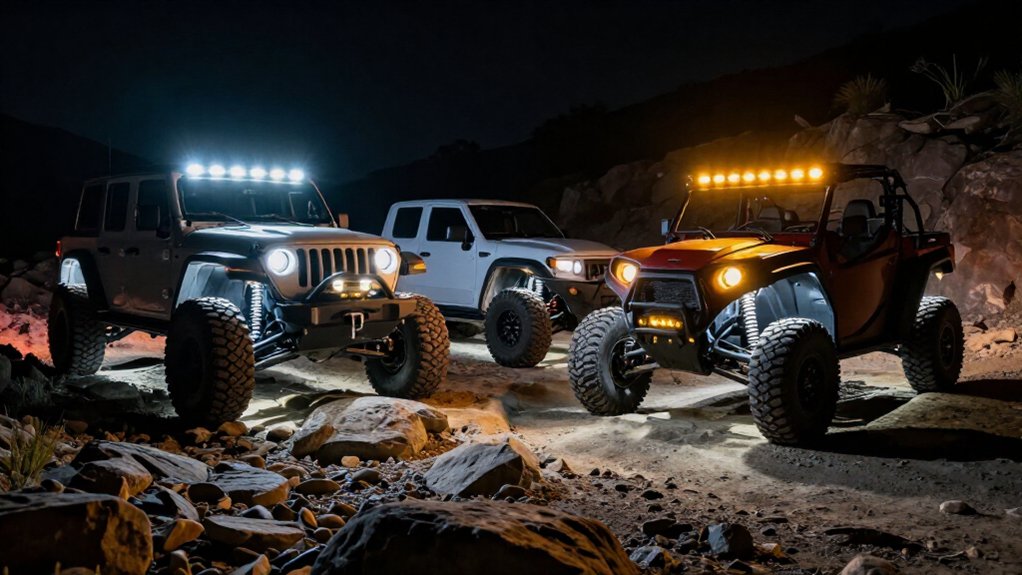
Start with four rock-light pods, one at each wheel area, to reveal ruts and reduce dark spots. For a Jeep or UTV, four suit basic trail use; choose eight for more even axle coverage.
Trucks often need six to twelve, especially with long wheelbases or lift kits; technical terrain may call for eight or more.
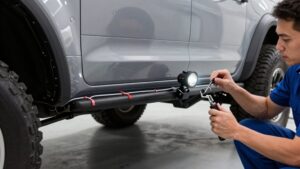
Aim pods beside tire paths, clear of moving parts, heat, and pinch points.
Check harness capacity; guidance below refines setup.
Corner and Wheelwell Coverage
For basic corner and wheelwell coverage, start with four pods—one aimed at each tire area—to reveal ruts and reduce dark spots. You should angle each pod to wash the ground beside the tire sidewall and across the corner approach; pointing straight down can leave the path ahead dim.
Place at least one pod to illuminate each outer front or rear wheel corner, where trails bend and visibility can drop. This layout helps you spot ruts, rocks, and edge changes before your tires reach them.
For more even coverage across both axles, consider eight pods, especially on Jeeps, trucks, and trail UTVs. Larger tires, lifted suspensions, or longer wheelbases may need additional pods near the center to reduce shadows between wheelwells. Check coverage at low speed before entering uneven terrain at night.
Plan Around Chassis Obstructions
Before choosing mounting points, map the wheel wells, suspension arms, and skid plates so tires, sway bars, and frame rails won’t block the pods’ beams.
If you’re running a high-clearance lift kit, angle pods to cut light under the chassis instead of letting the pumpkin or transfer case shade the beam. On a solid rear axle, position pods near the axle corners to reduce a dark band an axle tube can create.
Around exhaust pipes and mufflers, route the harness away from heat and protect it against pinch points and moving suspension parts. Near aftermarket bumpers, fender liners, or rocker panels, test-fit pods. Confirm 360-degree or multi-angle output has a clear downward and outward line of sight. Secure wiring and verify suspension travel before driving.
Pod Count by Terrain
Match pod count to the terrain and the areas your tires need lit. For trails and rocky ground, start with four pods, one at each wheel well, to expose tire paths, ruts, and rocks before you cross them. For mixed mud and uneven terrain, eight pods can cover both axles and maintain underglow as your suspension articulates.
| Terrain | Starting coverage |
|---|---|
| Trail and rocky | 4 pods: wheel wells |
| Mixed off-road | 8 pods: both axles |
| High-clearance/technical | 8+; add center/rear |
On longer trucks or high-clearance rigs, use eight or more to limit mid-body shadows. Tight side-slope trails need center or rear placement so the ground edge stays visible as your vehicle pitches and rolls. Prioritize even coverage; wide-output RGBW pods can close gaps better than stacking pods in one area. Check coverage from each wheel before driving.
Wiring Harness Capacity
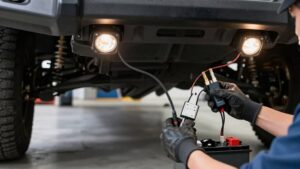
Match your harness’s output count and lead reach to your planned pod layout, leaving capacity for future additions. Check each pod’s amp draw against the controller, wiring, and fuse ratings so the full setup won’t overload them. If added pods exceed the harness rating, use a properly fused separate circuit rather than extra splits.
Match Harness Capacity
A safe pod count depends on your harness and controller capacity, not just the number of lights in the kit. Before adding pods, check the kit’s distribution layout and confirm its junctions support your configuration. Verify that the controller has enough output channels; don’t route several groups through one feed unless the system’s designed for it.
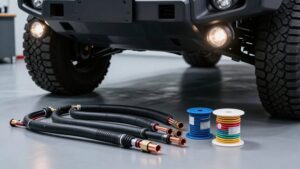
Check each pod’s 14-foot lead against wheel-well positions and controller reach. If you’re expanding a minimum six-pod setup, use compatible Y-splitters or distribution blocks rated for that harness rather than improvised connections. Plan each route clear of pinch points and moving suspension parts, and secure connectors where trail mud and debris won’t damage them. If it can’t reach or distribute your layout, use a compatible expansion harness.
Check Pod Amp Draw
Before adding pods, verify that the controller and harness can safely carry their combined current. Check the current rating on both components, then compare it with the pods’ total draw. For a KC HiLiTES Cyclone V2, use its published 0.42 amps per pod: multiply pod count by 0.42 to calculate the load.
Confirm the specification; some RGBW pods list watts rather than amps, and the controller label may provide the needed rating. Don’t assume a harness is protected for the full load: if its fuse rating doesn’t cover the summed amperage, install proper in-line fusing. Also account for cable length and voltage drop; long truck or UTV runs can reduce voltage at the pods and affect reliable operation. Check before powering the system.
Allow for Expansion
If you may expand beyond four wheel-well pods, check that your harness and controller have enough spare outputs for the planned count.
Choose a kit whose pod capacity matches your target; kits are built around counts, and spare controller outputs matter before you buy extra lights. Harnesses often use a distribution block or Y-splitters, letting several pods share a fused feed with fewer splices.
Don’t assume connectors mean the system supports more pods; verify the controller’s output limit and the harness’s capacity. For RGBW pods, confirm the harness carries communication and control lines, not just power, especially with app-controlled kits. Check lead length against your vehicle’s routing: 14-foot leads may reach layouts, but added pods must reach the fuse box or controller without stretching wires or exceeding recommended routing. Secure connections, protect wiring from abrasion, and follow the maker’s installation and capacity specifications.
Use Separate Circuits
To keep each branch within its rated capacity, check the controller’s channel limit, harness amp rating, and fuse size against the pods’ total load. Don’t place more pods on a channel than its specified current allows; the switch and wiring can overheat. Use separate fused positive feeds for vehicle zones, such as front and rear wheel wells, to lower current on each branch and simplify troubleshooting.
Size each circuit for its combined pod load, and fit a dedicated inline fuse suited to the wire and load.
For a 12-volt system, a 24-watt pod draws about 2 amps, so eight pods need 16 amps total. If your harness can’t carry that safely on one run, divide the pods among fused circuits. Check lead lengths, junctions.
Pod Counts by Vehicle Type
For a Jeep, start with 4 pods and step up to 8 to reduce axle shadows and improve trail-edge visibility; trucks commonly need 6, or 8+ on taller setups.
For a UTV, 4 pods can cover the wheel wells, while 8 usually illuminates under-axle areas more evenly. Adjust the count for your vehicle’s size and clearance, placing pods at the wheel wells first and adding them along the frame where shadows remain.
Jeep Pod Counts
Most Jeeps need four rock light pods to illuminate the wheel wells, while eight usually provides better coverage around both axles and reduces shadows beneath the chassis. For your first fit, place pods at the wheel wells and check for dark gaps. Add pods if off-road ground illumination remains uneven.
Eight often suits a Jeep, covering both axles and reducing shadows from ruts and rocks. A longer wheelbase or high-clearance setup may need more; extend coverage toward the center and rear to limit blind spots. RGBW pods keep this count logic: dedicated white LEDs provide brighter visibility, while colors serve show use. Choose IP67-rated pods. Prioritize wheel wells, then expand coverage. Secure and aim each pod to light the ground without glare.
Truck Pod Counts
Start with four pods to light your truck’s front and rear wheel wells and reduce dark zones around the tires and suspension. It gives you a practical baseline for checking tire clearance and nearby components during low-speed work or trail travel.
For noticeably better visibility around both axles, choose eight pods: place one at each wheel well and add coverage to fill underbody and center gaps. On a long-wheelbase, larger, or high-clearance truck, mounting geometry can leave low-coverage patches, so you may need more than eight.
If you use RGBW pods for functional white ground light, favor eight or more to spread the dedicated white LEDs evenly. Plan routing first: each kit has a 14-foot lead, so place pods where the harness reaches safely.
UTV Pod Counts
UTVs usually need four pods for basic underglow, with one at each wheel well to illuminate the tires, suspension, and nearby trail debris. For trail use, place each pod near a wheel well or suspension edge, where debris can approach your travel line.
Four pods provide a baseline, but they can leave dark zones between the tires when you cross ruts or rocks. If you want more even ground coverage, add four pods to serve both axles and all corners, bringing your setup to eight.
If the underside stays visible during your usual driving, add coverage toward the center or rear so light extends beyond the tire line. Choose higher-LED pods, such as 24-LED RGBW units, to help maintain brightness across eight lights. After a test run, add pods only where dark areas remain.
Adjusting for Vehicle Size
Match pod count to the vehicle’s footprint, since longer wheelbases and higher clearance create more gaps beneath the chassis.
For a UTV or SXS, start with four pods, one per wheel well. Eight, with front-and-rear placement on both sides, gives more even coverage and reduces chassis dark zones.
Fit eight on your Jeep: around the wheel wells, plus near the rear axle and rocker area, to light ruts and rocks beyond the tires.
For a truck, use eight to twelve pods; cover both axles and fill gaps ahead of or behind the rear tires. Add pods near the center or rear on long-wheelbase vehicles to maintain a lighting grid.
If you choose RGBW pods, match count to size; brightness can’t replace coverage. Check visibility.
Mounting Surface Clearance
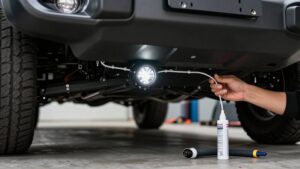
Before counting pods, check that each die-cast aluminum housing has a flat mounting surface and enough clearance behind it to avoid the fender liner, pinch weld, and suspension components. Confirm screws won’t contact parts. Then check the 14-foot lead’s route.
At full compression, keep it clear of the tire, brake lines, exhaust, and moving suspension; secure it without pulling it taut.
Position each pod outside the rock-splash zone, with a clear view of the ground. Leave space for the harness and connectors so metal won’t crush them. An IP67 rating resists water and mud, but it doesn’t protect pinched wiring. If wheel wells or irregular panels limit mounting angles, plan for coverage closer to the center or rear axle to light areas the body shadows.
Spare Pod Availability
Can you add pods later if you find dark zones? Many brands sell pods, so you can begin with four wheel-well lights and expand after inspecting your vehicle at night. Keep the mounting position, beam direction, and harness reach consistent; a replacement can leave a gap when you need to read terrain or spot obstacles.
For RGBW systems, keep a spare if you rely on white LEDs for consistent true-white output. Match the pod model, IP67 rating, lead length, and connectors; a 14-foot lead may determine where the pod can reach. Before ordering, confirm compatibility with your Bluetooth/app controller and its electronics. If you may move from six to eight pods to coverage, verify that the model line, or its Mega Pod/44-LED version, is available.
Battery Draw and Overloading
For most installs, rock lights draw modest current: a six-pod set using about 0.42 A per pod pulls roughly 2.5 A total. That’s usually manageable on a properly fused accessory circuit, but plan for your full electrical load.
- Add pod current; compare the total with your battery capacity and alternator rating.
- Long engine-off trail use can drain your battery, even when each pod draws little.
- RGBW controllers and lighting effects add some draw beyond simple white on/off kits.
- Use the recommended fuse and fused harness; undersized protection can let wiring overheat during a short.
Choose four pods for wheel-well coverage if that meets your needs, and remember that every added pod increases current linearly. Keep wiring protected and verify the circuit’s rating before installation.
Confirm App Compatibility
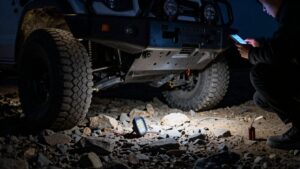
Once you’ve accounted for the added pods’ current draw, check that the Bluetooth controller works with your phone and kit.
Verify:
- Your phone’s iOS or Android version supports the app.
- For true white, confirm RGBW support; RGB-only apps can’t control a white channel.
- Match controller type to the kit: single-color, app-controlled RGBW, or required harness.
- Check receiver capacity; extra pods may need wiring, splitters, or another controller.
Check that the app offers your intended modes: color switching, chase effects, music sync, and white-channel control. If the listing omits details, ask the seller for the control-box model and supported app version.
Before driving, test the lights while parked, confirm every pod responds, and secure wiring away from moving parts, hot surfaces, and sharp edges to reduce electrical risk.
Conclusion
Choose your pod count by mapping corner and wheelwell coverage, checking chassis obstructions, terrain, and mounting clearance. Match the wiring harness and battery capacity to the total load, and confirm app compatibility before installation. For a Jeep, truck, or UTV, start with enough pods to light key areas evenly; add spares only if your setup supports them.
Secure every pod and route wiring away from heat, moving parts, and pinch points. Test the system before driving, then recheck mounts and connections regularly.