UTV Street Legal Lighting Checklist: Every Light You Need to Pass
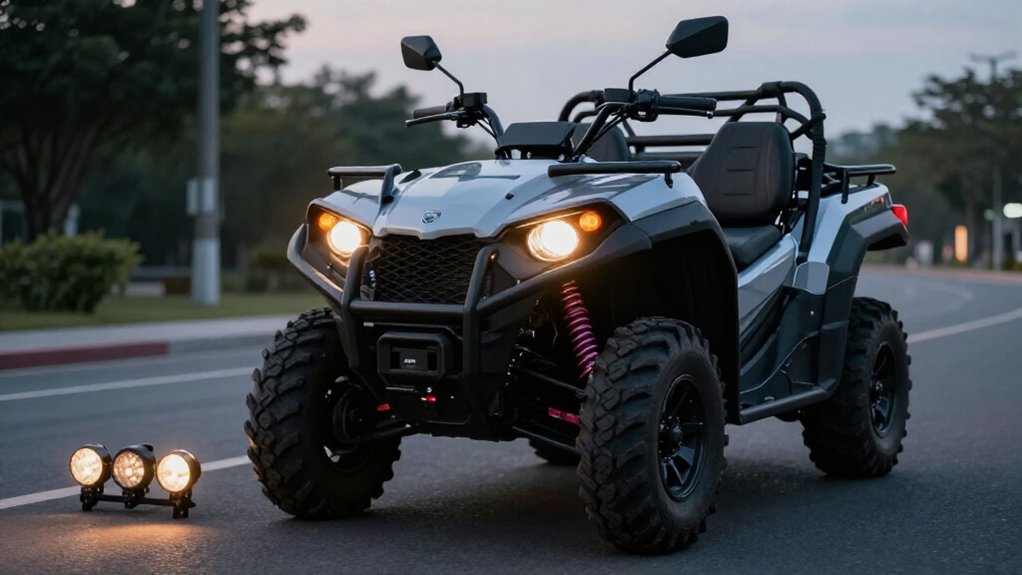
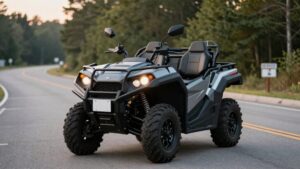
To make your UTV street legal, verify DOT-marked high- and low-beam headlights, taillights, and a brake lamp that brightens immediately when you apply the brake.
Install amber front and correctly colored rear turn signals, plus working hazards.
Check amber side markers and required mounting positions against your state code.
Test each function after dark, inspect grounds and wiring, and confirm lens markings before inspection.
Continue onward.
Headlight and Taillight Requirements
For street use, equip your UTV with DOT-approved headlights that provide both high and low beams, plus reliable taillights and brake lights. Your state may require two-beam operation, so confirm both settings work before entering public roads. Choose assemblies marked DOT-approved; a housing that merely looks identical may still trigger a citation.
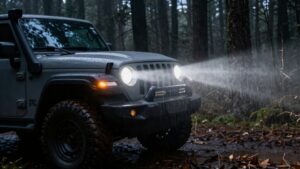
Aim the headlights to illuminate the roadway without directing glare into oncoming drivers’ eyes, and make sure racks, windshields, or other accessories don’t block their beams. Verify that your taillights remain visible from behind and that pressing the brake pedal produces an increase in rear lighting. After installation, test the system: switch between high and low beams, inspect taillight output, and apply the brakes. Correct any alignment or wiring issue before driving.
Turn Signal Requirements
Because street-legal UTV rules vary by state, check local requirements and choose DOT-approved turn signals with amber front lamps and red rear lamps. Use an independent harness to avoid factory wiring and ECU splices, improving reliability and reducing diagnostic or registration problems.
Select a switch that suits your Yamaha’s cockpit:
| Item | Check |
|---|---|
| Lamps | Amber front; red rear; DOT-approved |
| Harness | Independent; no factory or ECU splices |
| Switch | Rhino: column space ~3+ inches; newer models: dash toggle |
| Flasher and purchase | LED with four-way hazards; verify DOT marking, since non-DOT units risk citations or DMV rejection |
Hazards commonly accompany turn signals, so test each direction and hazard mode before inspection. Confirm fitment and local acceptance before buying; appearance alone doesn’t establish compliance for safe, predictable road communication.
Brake Light Requirements
A street-legal UTV needs a functioning, road-compliant rear brake light that brightens when you apply the brake, not just a tail light that stays on. Most states require this light to illuminate whenever you brake. Choose a DOT-compliant assembly designed for road use; it should meet visibility expectations officers check.
Verify the wiring and switch respond to the brake pedal or lever you use; a conversion may connect the wrong trigger. If the assembly separates tail and brake circuits, confirm the tail lamp remains lit while the brake lamp brightens. Test it in daylight and at dusk.
From behind, check that the brake signal stands out clearly, then release the control and verify the light shuts off promptly. Confirm it works consistently before road use.
License Plate Light Requirements
Your UTV’s plate light must cast white light across the entire 7-by-4-inch plate, keeping every character readable at night without dark edges. Choose a bracket with an integrated LED or mount a separate light securely, and position it to illuminate the plate without glare.
Wire the light to operate with your headlights, then test visibility and secure mounting at night before driving.
Illumination Requirements
A visible plate light helps law enforcement read your UTV’s registration after dark.
You should use a lighted license plate bracket sized for a standard 7-inch by 4-inch plate. Choose a model with an integrated LED plate lamp; don’t depend on headlight spill to illuminate the registration. Aim the lamp so every character and the plate’s background remain readable, rather than merely confirming that the LED turns on.
Use DOT-compliant lighting components when available, because a similar-looking noncompliant light may still earn you a citation.
After installation, test the plate at night under normal operating conditions. Confirm its illumination stays bright and steady at typical vibration speeds and while braking, not only while parked. Check the characters from a practical viewing distance before riding.
White Light Placement
To keep your plate readable at night, mount a DOT-acceptable lighted bracket sized for a standard 7 × 4-inch plate and aim its lamp directly at the plate surface. Position the lamp so its beam covers the plate evenly without glare or washout; excessive output or an upward angle can obscure characters. Choose a bracket that holds the plate firmly and keeps the lamp unobstructed by racks, tires, or bodywork.
Wire the lamp independently into your vehicle’s lighting circuit, using proper connectors and weather-sealed routing to prevent corrosion, shorts, or intermittent operation. Confirm it switches on whenever required lights are active, and protect wiring from heat, abrasion, and suspension movement. Inspect fasteners and alignment after installation, verify a sound ground connection, then recheck fit after your first rough ride.
Plate Visibility at Night
At night, a dedicated, street-legal plate light must illuminate your UTV’s license plate clearly enough for law enforcement to read. Choose a lighted bracket sized for a standard 7 in × 4 in plate; proper coverage helps keep every character and border visible. Aim the beam directly at the plate surface, not across it from the sides, where glare or uneven illumination can reduce legibility.
After installation, test the light in darkness from normal road-stopping distances; confirm both characters and border remain readable rather than merely visible. Secure the wiring against vibration and weather exposure, and connect it so the plate light operates with your running lights or headlights. Inspect regularly; a failed lamp can make your plate hard to identify at night.
Integrated Versus Separate Lights
Choose an integrated or separate light that illuminates your plate clearly enough for law enforcement to read while your UTV is moving.
For an integrated option, select a bracket with a built-in LED sized for a standard 7-by-4-inch plate, unless your state specifies another format. Its single-piece design keeps the lamp aligned with the plate and simplifies mounting.
If you choose a separate lamp, position and aim it so the LEDs cast light directly across the plate face; illumination beside or above the plate may leave characters unreadable. In either configuration, use a DOT/road-usable light with an appropriate lens and visible output, then confirm the plate receives even illumination without glare or dark areas.
Secure the bracket or lamp against movement, and make sure the light functions every time you drive. Check your state’s plate dimensions and lighting rules before choosing hardware for your street-legal UTV.
Wiring and Inspection
Because a loose or flickering plate light can make your UTV’s registration unreadable, wire a DOT-compliant LED lamp to a reliable lighting circuit with sealed connectors and routing protected from chafing near the handlebars and suspension. Install a bracket sized for your standard 7-by-4-inch plate, and route wiring independently of ECU circuits or factory splices where practical.
Aim the beam as the bracket specifies, using a color and placement your state permits. With ignition on, test headlights, turn signals, and hazards, then confirm the plate lamp activates whenever state rules require it, not only during braking or turning. Check for steady illumination without flicker, and verify the plate remains readable from normal police viewing distance. Reinspect sealed connections and wire clearance after suspension movement.
Reading Your State’s Lighting Code
Start with the state where your UTV is registered, since its lighting code and DMV application, not just the places you ride, set the requirements officers and inspectors will check. Read the code and DMV application together; they may define separate equipment and inspection standards. Confirm requirements for headlights, including high and low beams, taillights, brake lights, turn signals, and an illuminated license plate.
Check whether signals must carry DOT approval; brightness or LED technology alone doesn’t prove compliance. Verify permitted colors and mounting positions in the applicable section, and don’t assume similar-looking lamps meet its specifications. Some states group mirrors and a horn under street equipment, so review those provisions too.
Compare each required function against your installed equipment and the inspection checklist. If wording is unclear, confirm it with your DMV or inspection authority before you ride on public roads. Keep the code or application available when preparing your UTV for inspection.
Amber Side-Marker Placement
Position amber side-markers symmetrically on both sides of your UTV, within the height and visibility zones required by your state, so drivers can see them from typical road angles and distances. Mount each unit securely at the required location; bodywork obstruction can reduce visibility during a roadside stop.
Choose DOT-compliant amber lenses, not amber-looking LEDs; visual color alone doesn’t establish approval, and noncompliant lamps may draw a citation. Keep left and right markers aligned unless your kit’s documentation directs otherwise.
Connect them using the supplied harness and relay method, following kit instructions. Isolate the circuit from ECU and critical factory wiring.
Then test each required switch mode, including parking lights, headlights, and integrated turn signals. Confirm steady amber output without flicker or partial illumination before road use.
Nighttime Visibility Examples
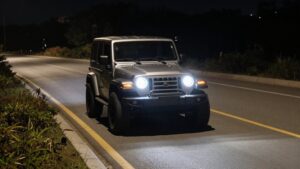
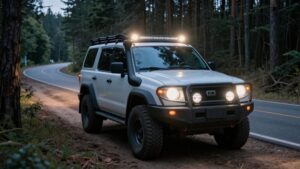
After confirming your amber side-markers are visible, check the full lighting setup at night: verify DOT-approved high- and low-beam headlights, bright rear and brake lights that activate immediately, DOT-approved front amber turn signals, correctly colored rear signals, and an illuminated license plate.
Park in a lot and inspect each lamp from the front, rear, and sides. Aim headlights to keep the beam on the road without blinding oncoming drivers. Switch between high and low beams to confirm modes work.
Have someone press the brake pedal while you watch for immediate illumination. Test each signal and confirm its color remains clear at following distance. Check mirrors and reflectors for visibility, then read the plate under its lamp. Correct obscured or misaligned lights before road use.
Wiring Ground Faults
A poor ground can make UTV lights dim or flicker because current returns through an unintended path, such as the frame or another circuit. When signals or brake/taillights react to bumps, inspect grounds before replacing lamps or chasing unrelated faults.
- Check loose ground straps, corroded mounting points, and pinched wires near switches, flasher modules, and rear harness connections.
- Measure voltage drop from battery negative to lamp ground with a multimeter; excessive drop confirms resistance needing correction.
- Install a dedicated ground ring terminal, bolted to bare metal; don’t use scotch-lock splices or random factory grounds.
- Route harnesses clear of pinch points, sharp edges, and moving steering parts; damaged insulation can short and trip a fuse. After installation, inspect the bare-metal connection for corrosion and secure wiring before testing.
DOT Lens Markings
Before installation, check the turn-signal and lighting lenses for DOT markings; appearance alone doesn’t confirm compliance.
DOT markings indicate that a lens is built to meet federal lighting safety standards used for street-legal compliance. Don’t assume a visually identical replacement qualifies: missing or noncompliant markings can expose you to citations. Verify each marking on the lens itself, or confirm it in the stated lens or assembly documentation before installation.
- Check front turn-signal lenses for DOT marks and amber output.
- Check rear turn-signal lenses for DOT marks and red output.
- Match received lens markings to the kit’s DOT-compliance claims.
- Review documentation when markings aren’t clearly visible on lenses.
Confirm details before DMV registration or roadside checks; approved LEDs must match their positions.
Conclusion
Before you ride on public roads, verify every required headlight, taillight, turn signal, brake light, plate light, and amber side marker against your state’s code. Check mounting locations, switching, brightness, and DOT lens markings; then test each circuit, including grounds, with the engine running.
Replace damaged or noncompliant parts, and confirm visibility from required angles at night. Don’t assume a trail-ready setup qualifies for street use. A careful inspection helps you meet legal requirements and makes your UTV easier for other drivers to see.