How to Install Rock Lights on a Jeep: Placement, Wiring and Sealing
Plan symmetrical rock lights along both rocker panels, spacing them 12–18 inches apart, with units near bumper corners and skid plates.
Wear eye protection, clean mounting areas, then disconnect the negative battery terminal.
Route wiring through grommets, secure it away from moving parts, and seal pass-throughs.
Mount lights with hardware, aim beams beneath the Jeep, and test each channel after dark.
If a light flickers, inspect its ground.
Use the checks below to finish safely.
Jeep Rock Light Coverage Plan
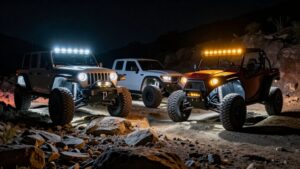
While planning your Jeep’s rock-light coverage, start with 4–8 lights for basic underbody illumination; use 8 or more for a wider, more even spread on night trails. Map the remaining lights along both rocker panels above the wheels, keeping left-right placement symmetrical. Aim for roughly 12–18 inches between fixtures to create an even edge-to-edge wash and reduce dark gaps across the ground.
Add lights near the lower front and rear bumper corners; position them symmetrically to reveal obstacles ahead and behind while preserving a consistent undercarriage silhouette.
For technical trail use, place additional units on or near skid plates so you can see clearance zones and underbody components as you approach uneven terrain. Check that each side receives comparable coverage, since a one-sided layout can leave the opposite side unlit when the Jeep crosses uneven ground. Before installation, verify each chosen mounting point avoids moving parts and doesn’t compromise service access.
Wear Eye Protection and Gloves
Before drilling or handling wiring and fasteners, put on ANSI-rated eye protection and snug gloves, then disconnect the Jeep’s battery to prevent accidental sparks. Keep the eyewear on whenever you drill mounting holes with 7/32-, 15/64-, or 3/8-inch bits; metal chips can eject unpredictably.
Use these controls throughout installation:
- Maintain a firm grip while routing wires and tightening bolts; avoid excessive torque and nicking insulation.
- Handle lenses and rubber dust seals with clean gloves; don’t pinch or tear gaskets that block water and debris.
- Keep fingers clear of drill paths and sharp edges, and change damaged gloves before continuing.
- Inspect seals for displacement during reassembly; preserve the kit’s intended IP65/IP67-or-higher protection.
Resume only with the battery disconnected and your hands and eyes fully protected.
Step 1: Clean the Undercarriage
With the Jeep parked on level ground and the battery disconnected, clean the wheel wells, rocker panels, and skid-plate areas where you’ll mount the lights.
Remove mud, grease, road grime, and loose rust from each mounting zone. Pay particular attention to the points where the lens and housing gaskets will seat; contamination can prevent a watertight seal. Clean wiring-entry locations as well, so drilled surfaces aren’t contaminated before you protect them with sealant or heat-shrink. Keep water away from any exposed electrical connections.
After washing, let the undercarriage dry completely, or wipe it with a clean, lint-free cloth. Trapped moisture can compromise rubber dust seals and junction protection. Before drilling, inspect each location for sharp edges, existing holes, or damage. Smooth or repair problem areas to limit vibration wear that could eventually undermine waterproofing. Don’t mount a light over loose debris or a wet surface.
Use a non-corrosive degreaser suited to the Jeep’s finishes, and follow its label. Avoid directing high-pressure spray at connectors, seals, or damaged coatings; forceful water can drive moisture into cavities and create corrosion or a poor bond for protective materials.
Step 2: Disconnect the Jeep’s Battery
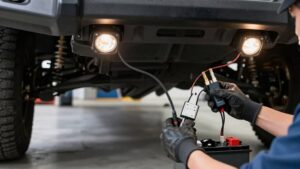
Disconnect the Jeep’s negative (-) battery terminal before drilling or connecting rock light wiring to reduce the risk of short circuits and electrical shock. Use the correct wrench to loosen the clamp, then lift the negative cable clear of the post; secure it so it can’t spring back into contact. Don’t remove the positive terminal. Verify that auxiliary circuits have no power before working near the battery or main power terminal.
Keep the negative cable disconnected while you test, ground, and fasten each component. This prevents accidental LED activation and helps protect an RGB controller from damage caused by incorrect power or grounding connections. Don’t reconnect the battery until drilling, mounting, sealing, and all wiring connections are complete.
Then restore power for the final switch or controller test, checking operation only after you’ve confirmed every connection is secure. Stop immediately if you detect unexpected power or damaged insulation.
Step 3: Route Wiring Through Grommets
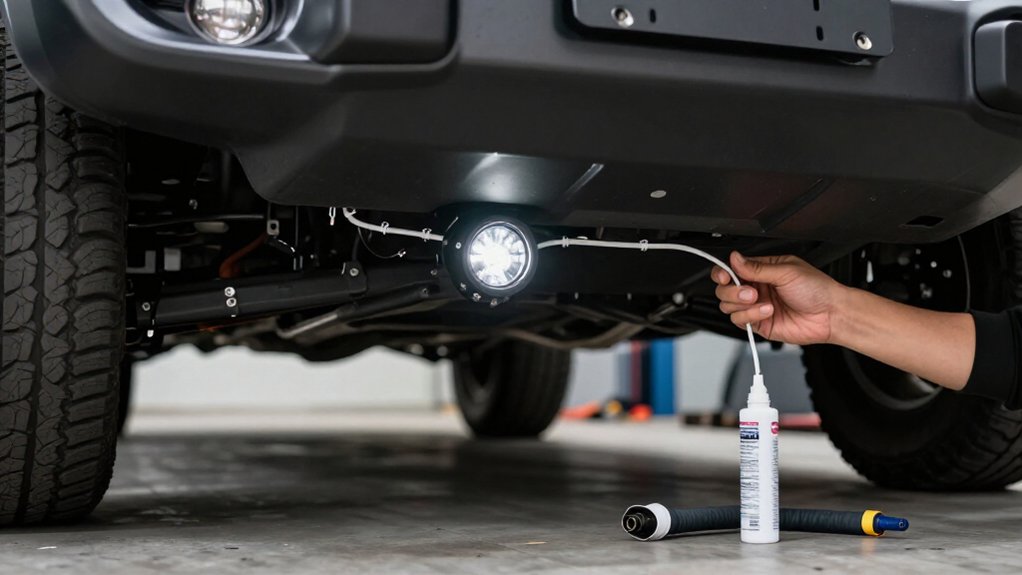
Route the rock light harness through existing rubber grommets whenever possible to protect it from sharp edges and water intrusion. If you need a new pass-through, drill only after checking sides for hidden wiring or components. Deburr the opening and fit a rubber grommet before feeding the cable; bare metal can cut insulation under vibration.
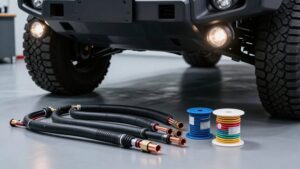
Keep each run clear of moving suspension parts and hot exhaust surfaces. Secure the harness with zip ties at intervals, without crushing its insulation. Leave a small service loop near each light and controller or switch connection, so suspension travel won’t pull wiring against the grommet. Protect the pass-through with heat-shrink tubing or suitable waterproof connectors, and check that the seal remains intact to preserve the system’s IP65/IP67-class water resistance.
Step 4: Mount and Seal Each Light
Clean and degrease each mounting area so the gasket sits flat against the Jeep’s underside and can resist vibration and water.
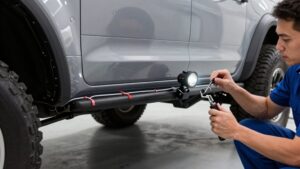
For each light, remove the lens and center rubber dust seal if your kit uses them; this lets you seat the housing and seals. Drill the mounting point with the specified bit size, then use the included nut, bolt, and washer. Tighten the hardware, but don’t overtighten or damage the housing.
Reinstall the rubber gasket, dust seal, and lens, checking that seams and the lens interface sit correctly before you run the wiring. A misseated seal can admit mud and spray. After mounting, seal exposed wiring entry points using a water-resistant method. Keep enough wiring slack to prevent suspension movement from pulling connections loose.
Step 5: Aim Lights Inward for Coverage
Aim each rock light inward toward the Jeep’s centerline so the beams overlap beneath the rocker panels and fill the dark gap under the doors.
Place lights along the rocker panels and above wheel areas, then angle them slightly inward rather than straight outboard. If you’re spacing lamps 12–18 inches apart, overlap helps blend their output, reducing bright hot spots near each lamp and creating a smoother wash across the ground.
Aim the front pair slightly inward and forward; angle the rear pair inward and backward. This pattern extends coverage over uneven terrain as your Jeep moves. Before sealing the lights, test each beam and adjust its angle until neighboring patterns meet without leaving dark gaps. Keep each lens and housing seal properly seated.
Step 6: Torque Mounting Hardware
Once the light sits flat and its gasket isn’t pinched, tighten the mounting bolt with the supplied hardware. If your kit specifies a torque value, follow it exactly. Otherwise, snug the fastener until the mount holds securely without movement; don’t overtighten, especially with plastic brackets, because excess clamping force can crack the housing.
For a drilled mount, place a flat washer beneath the bolt head to spread the load and prevent lens or housing deformation. Before final tightening, confirm the holes and wiring penetrations align and the light sits flush against its mounting surface. Check its angle remains set for your coverage and the rubber seal isn’t pinched.
After the first drive or off-road session, recheck the fasteners for movement. Continue with sealing and wiring.
Test Lights After Dark
After tightening the mounts, test each rock light before sealing the wiring or closing up the circuit. First, temporarily power each light off the Jeep, or with the circuit exposed, and confirm its expected color and brightness before fully fastening and sealing it. For RGB or dual-color kits, check every lens channel and controller output, including the intended white, red, or RGB pattern.
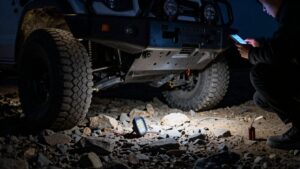
Then reconnect the battery and test after dark with the lights installed. Verify the beam illuminates the ground beneath your Jeep, not mainly the dirt behind it; adjust each light’s angle and spacing as needed. Use the switch or controller to confirm every light turns on and off consistently, without flicker or dimming. Repeat again at full load before waterproofing.
Troubleshooting Loose Ground Connections
If one or more rock lights dim, flicker, or work only when the wiring is moved, inspect the ground connection first. Switch off power before handling wiring. Check that the ring terminal’s tight against clean, bare frame metal; paint, powder coat, and rust interrupt contact. Sand the point to bright metal, then retighten any bolt or terminal that moves.
| Symptom | Check |
|---|---|
| Flicker | Verify continuity from each ground lead to vehicle ground. |
| Intermittent | Tighten loose ring terminal; check for frayed splice. |
| Recurring | Secure harness with zip ties; leave slack near moving parts. |
| Persistent | Check splice for water; reseal with sealed heat-shrink. |
Secure the harness away from moving parts and debris, leaving slack to prevent repeated stress. If faults persist, reseal the splice with proper heat-shrink or sealed connectors.
Inspect Seals for Cracks
Before installation, remove each rock light’s outer lens and inspect the center dust seal, lens gasket, lens-to-housing seam, and cable entry for cuts, tears, gaps, fraying, or hardened rubber. These defects can let water or grit enter the LED housing, even when your lights carry an IP65, IP67, or IP69K rating; protection depends on intact seals.
Check the seam and cable entry closely for pinched sealing material, common leak points during mud, splash, and off-road washboarding. Replace any damaged gasket; don’t reuse it and hope it holds. Clean the contact surfaces, then verify each seal lies flat without twisting or uneven compression.
Reinstall the lens and confirm the rubber compresses fully. Tighten screws or bolts evenly, but don’t overtighten: excess pressure can deform the gasket and create micro-gaps. Keep damaged lights out of wet service until you’ve restored their seals and verified the lens is secure before reconnecting power and completing the installation check.
Conclusion
Plan rock-light placement to cover the wheel wells and frame without exposing fixtures to impact. Wear eye protection and gloves, clean the undercarriage, and disconnect the battery before wiring. Route leads through existing grommets, seal each pass-through, and torque mounting hardware to the manufacturer’s specifications.
Test the lights after dark, checking coverage and connections. If a light flickers, inspect its ground. Recheck seals for cracks after off-road use; repair damage promptly to keep moisture out and wiring protected.