How to Install Ditch Lights on a Tacoma: Brackets, Wiring, Aim
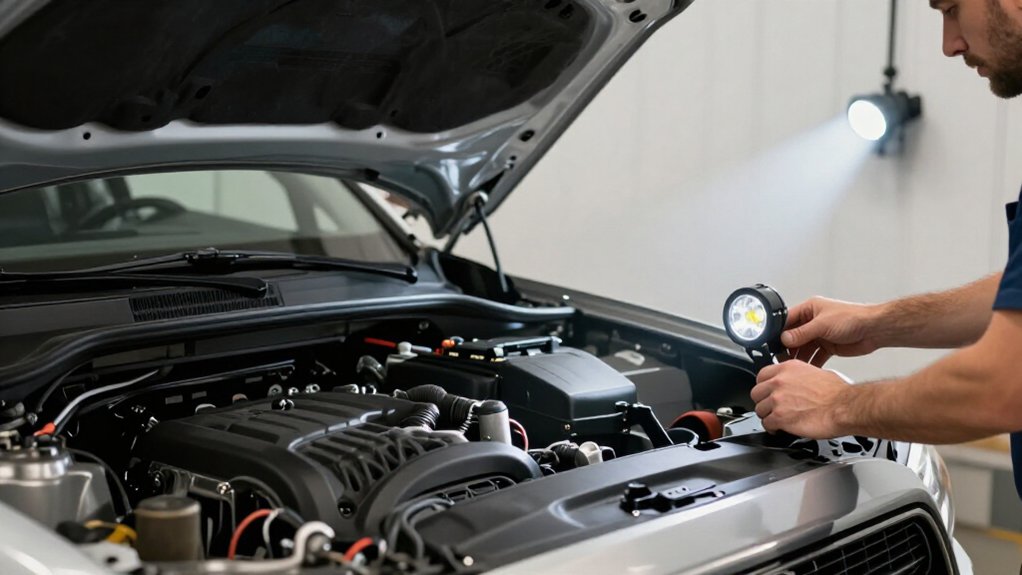
To install Tacoma ditch lights, use vehicle-specific hood-hinge brackets and matching pod hardware. Protect hood edges with masking tape, mark hinge positions, and support the hood before removing its two original bolts.
Disconnect the negative battery cable before wiring.
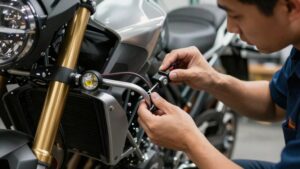
Mount pods loosely, route the harness through an existing firewall pass-through, and secure it away from heat and moving parts.
Aim each pod outward about 45 degrees; check clearance, power, and switch operation. Continue for final checks.
Hood Hinge Bracket Placement
Before positioning each bracket, mark the hood hinge area with masking tape and tape the hood edges to protect the paint. Support the hood securely before loosening either hinge; its weight can shift suddenly. Remove the two original 12mm bolts from one hinge to open a mounting space. Keep the hinge aligned with your tape marks as you work.
Slide the vehicle-specific low-profile bracket between the hinge and body. Align its holes with the hinge holes, then orient the pod mount outward. Leave a slight gap at the hood’s rear edge for initial aiming adjustment; don’t tighten the bracket fully yet.
Reinstall the original bolts, checking that the hinge matches your marks. Once seated, secure the bracket and repeat the placement on the opposite side.
Gather Tools and Supplies
Gather the tools and supplies before you begin: masking tape, a 12mm socket, vehicle-specific hood-hinge brackets, matching pod hardware, and two ditch light pods. For a 2016 to 2023 third-generation Tacoma, verify the brackets match your truck and keep the complete pod kit together; mismatched hardware can prevent secure mounting or adjustment.
- Set out the 12mm socket and basic hand tools; use them to remove and reinstall hinge bolts, then snug bracket and pod fasteners.
- Check that the wiring harness includes its relay, switch, fuse, and splitter for both pods, if supplied.
- Keep zip ties ready to secure wiring along existing engine-bay pathways; route only after mounting, then check clearance and aim pods outward about 45 degrees.
You’ll avoid rushed work by staging every item beforehand.
Step 1: Protect Fender Paint
To protect the paint while fitting the ditch light brackets, apply masking tape to mark the hood hinge position and cover nearby hood edges. Keep the hood supported as you remove the two 12mm hinge bolts; taped contact points help prevent metal from scuffing paint around the mounting area.
Hold the bracket against your tape marks and check that the hinge sits straight against the protected surfaces before tightening the original 12mm bolts.
While mounting each pod, leave its angle adjustable until you check initial clearance. Adjust carefully; don’t drag the pod bracket across painted surfaces.
After installation, remove all tape and inspect the hinge area, fender edges, and clearances before final aiming. Look for marks or signs of contact; correct any interference before you proceed.
Step 2: Disconnect Tacoma Battery
With the hood open, disconnect the Tacoma’s negative (–) battery cable before routing any ditch light wiring to reduce the risk of a short.
Use a socket to loosen the terminal clamp, then lift the cable off the post. Set it aside where it can’t spring back or touch the negative terminal. Keep the hood open, and don’t bridge the battery terminals with a metal tool.
If your kit includes a relay and fuse, keep its harness unplugged and unpowered until the battery is disconnected and all wiring is routed and secured. This isolation helps prevent accidental energizing and shorting.
Reconnect the negative cable only after you’ve bolted the brackets, mounted the pods, and checked the wiring for clearance and safe routing. Reconnect it afterward.
Step 3: Route Wiring Through Firewall
After disconnecting the battery, route the ditch-light harness through an existing firewall grommet or the manufacturer-provided pass-through to protect it from heat and abrasion. Feed the harness through without pulling, leaving enough slack on each side so engine-bay components and connectors aren’t strained as you turn the steering wheel or move parts.
Follow factory harness paths and use zip ties to hold the wire clear of exhaust heat, fan belts, and steering linkages. At the opening, check that the grommet remains seated and the harness lies flat without pinching, kinks, or contact with sharp edges. Inside the cabin and engine bay, verify relay, switch, and fuse placement, then confirm both pod leads reach their brackets without tension before you tighten connections or aim the lights.
Step 4: Secure Pods to Brackets
Once the wiring clears moving and hot components, assemble each 3-inch LED pod with its included hardware, then mount it to the vehicle-specific bracket using the carriage bolt, washer, lock washer, and nut. Keep the fastener hand-tight at first, preserving room to adjust the housing. Check clearance at the hood hinge and cowl; the bracket should sit flush without contact.
Inspect the routed lead to ensure it can’t pinch beneath the pod or touch hot or moving parts. When the housing and wiring clear surrounding components, tighten the carriage-bolt assembly with the tool specified by the manufacturer, following its torque guidance. Tighten evenly, then verify that the washers and lock washer remain seated and the pod doesn’t shift under a gentle hand check. Recheck fasteners after trail use.
Step 5: Aim Pods Beyond Fenders
While the pods are still loosely snugged, aim each one outward at roughly 45° to illuminate trail edges and obstacles beyond the Tacoma’s fenders, not straight ahead into the mirrors. From the front and side, confirm each beam clears the hood hinge and doesn’t strike the fender line. Keep the pods adjustable while you check their spread; don’t judge alignment only from the driver’s seat, where the hood can mask the beam edge.
Test on uneven ground, then adjust each pod independently to reveal drainage ruts and washouts beyond the truck’s outer body line. Tighten all bracket hardware to specification before confirming the final aim. Use a driveway test or real trail conditions, checking that the outside edge stays bright where you need it for tight switchbacks.
After your first drive, inspect the aim again; bracket settling, especially on rough trails, can shift the outward spread. Re-aim if either beam has shifted noticeably outward.
Step 6: Tidy Wiring With Zip Ties
With the pods aimed, route the ditch-light harness along the Tacoma’s existing engine-bay paths, clear of hot surfaces, belts, and fans. Before adding ties, confirm the route avoids sharp edges and metal corners where vibration could cause chafing. Leave slack beside each pod and at the switch and relay connections so aiming won’t pull or strain the wires.
Once you’ve confirmed hood movement doesn’t pinch the harness, use zip ties at regular intervals to secure slack. Keep the bundle snug; it shouldn’t droop onto the bumper or undercarriage. Position ties away from sharp edges, then fasten them without crushing insulation.
Operate the lights and recheck aim and harness clearance through hood movement. If adjustment shifts the route, loosen and reposition ties before securing them.
Verify Switch Indicator Illumination
Turn on the cab switch and confirm its built-in indicator illuminates as both ditch-light pods power on. With your truck parked in a safe area, cycle the switch OFF and ON, confirming the indicator state matches both beams each time. Check that the switch lead connects to the harness output designated for the ditch lights, and that the supplied splitter feeds both pods; this connection provides the indicator’s proper trigger voltage.
If the indicator stays dark, switch off the system, then verify the fuse is fully seated and inspect the harness ground and relay connections for secure attachment before investigating the switch circuit. Perform this check only when safely parked. Afterward, confirm both pods still operate together and the indicator remains steady through engine start and idle.
Diagnose Flickering Ditch Pods
If both ditch pods flicker, switch them off and check that the harness plugs are fully seated and secured at the splitter and relay. Then secure the ground and route it away from hot or moving parts; use zip ties to remove slack. Vibration can loosen a connection and interrupt power. Confirm the relay/switch assembly receives stable 12V power through the included fuse. Replace it only with a same-rating fuse if blown or heat-damaged.
| Symptom | Check | Action |
|---|---|---|
| Flicker over bumps | Ground | Tighten; secure routing |
| Changes with steering | Hood hinge | Reroute to prevent rubbing |
Finally, snug pods on their bracket, hand-tighten before aim; loose hardware strains leads. Test low and high beam and turn wheel; confirm harness doesn’t pinch or rub near hood hinge.
Inspect Seals After Water Crossings
After any water crossing, inspect each ditch pod’s seals and the perimeter where it meets the bracket for cracks, pinched gaskets, or moisture intrusion. Check the lens area for water, then trace the wiring jacket along its routed path. Confirm zip ties hold it clear of hot or moving components; abrasion or heat damage can compromise insulation and create a route for moisture.
Inspect hood-hinge and bracket mounting points for rust, loose hardware, or gaps that could let water reach the seal. Recheck both pods’ outward aim at roughly 45 degrees; splash can shift them, causing uneven illumination or exposing unsealed edges.
If you find fogging, droplets inside the lens, or persistent seal movement, don’t make a crossing until you’ve checked the seals and connections.
Conclusion
With your ditch lights mounted securely on the hood hinge brackets, check fasteners, wire clearance, and weather seals before every trip. Aim each pod on level ground: keep the beam low enough to avoid dazzling oncoming drivers while illuminating roadside hazards.
After routing wiring through the firewall, confirm grommets seat and harnesses stay clear of hinges and hot parts. Test the switch indicator and watch for flicker. If anything loosens or leaks, correct it before driving.