What Is a Combo Beam Light Bar? Spot Reach Plus Flood Spread
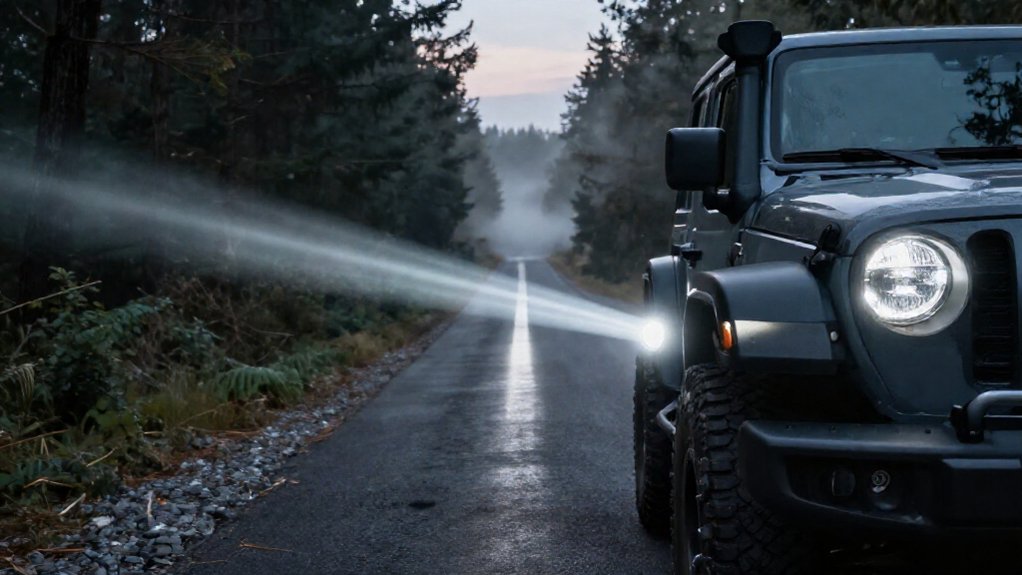
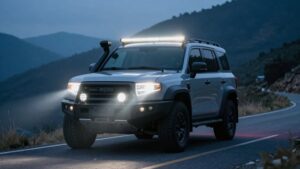
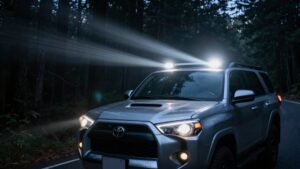
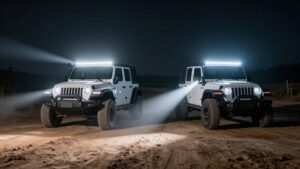
A combo beam light bar pairs a narrow center spot with wider flood optics at both ends. You get longer reach from the hotspot to identify hazards ahead, while the outer spread lights nearby ground, trail edges, and obstacles. This layout balances distance with peripheral awareness and can reduce the tunnel vision of a spot-only bar, though it won’t match a dedicated spot’s reach or a flood bar’s width.
Continue for setup and safety details.
Spot Center, Flood Edges
A combo beam light bar pairs a narrow spot-style center, typically around 10°–30°, with flood-style outer optics, commonly around 40°–60°. The center concentrates light into a longer-reaching hot spot, helping you identify hazards farther ahead. Outer flood optics spread illumination wider, supporting awareness of nearby edges and obstacles close to your vehicle.
This mixed layout balances distance and peripheral coverage, avoiding the restricted view associated with spot-only bars. You still trade some reach compared with a dedicated spot bar, and some width compared with a dedicated flood bar. Choose a combo when you need both functions. Aim and mount it securely so the beam doesn’t distract other road users or compromise visibility. Verify wiring, mounting hardware, and local requirements before use.
Beam Shape on the Trail
On the trail, a combo beam’s narrow center spot, typically 10°–30°, throws light farther ahead, while 40°–60° flood sections brighten nearby ground and edges. Many designs place roughly two-thirds of the beam in the center spot, with flood patterns at both ends. As you move along uneven ground, the concentrated hot spot helps you identify distant terrain, while the wider spill reveals trail edges and nearby obstacles.
This combination reduces the tunnel vision you may experience with a dedicated spot bar without sacrificing forward reach.
Aim and mount the bar so its beam illuminates the route without creating glare or masking detail with excessive brightness. Keep your speed within the distance you can see and respond to; dust, rain, and surface changes can shorten that distance. Use peripheral light to assess surroundings, but don’t treat it as a substitute for scanning ahead and adjusting your driving to visibility.
Passing Through Tight Switchbacks
When you enter a tight switchback, a combo beam’s central spot helps you read the trail ahead while its flood spread lights the inside edge, where ruts and rocks can hide.
A spot cone—often 8–12 degrees—extends your view down the curve, giving you more time to detect dips, washouts, and changes in trail direction.
The wider flood zone, commonly 40–60 degrees, illuminates ground beside your vehicle and limits tunnel vision near berms, scrub, and shoulders. As you steer through corners, the mixed pattern keeps light across the changing path: concentrated reach ahead, with peripheral coverage at the edges. Use that view to choose a safe line and moderate speed; don’t assume lit ground is clear, and scan for hazards and loose surfaces.
Mounting Height and Aim
Mounting height changes your beam’s reach: a higher position clears dips and obstacles but can increase glare and reflected light.
Aim the spot zone slightly downward along the trail while preserving flood coverage near your vehicle. Check for hood, weather, and windshield-edge reflections, especially with a high, wide mount.
Mounting Height Matters
A combo beam’s mounting height changes where its light lands and how much reflects back toward you. A higher bar can help you see over dips, but it may send more light onto the hood, windshield edge, or dust. Those reflections can impair your view, especially in rain or snow.
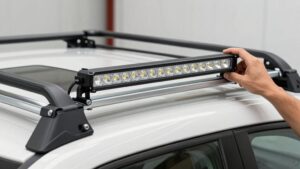
Bumper or grille mounting keeps the bar lower and nearer the factory headlamp axis, which makes adjustment easier and reduces hood glare. Roof-rack mounting can reveal beyond obstacles, but you’ll need aim control to limit reflections into your eyes. The same bar creates shadows and near-field illumination that vary between bumper, A-pillar, and roof positions.
Consider these effects; mounting position influences visibility as much as the beam pattern itself. Ensure secure mounting and follow lighting regulations.
Aim for Coverage
To get useful coverage from a combo beam, aim its central spot down the trail while keeping the flood spread on the ground near your vehicle.
The combo beam pairs a concentrated reach hotspot with wider near-field illumination, so your aim must place both zones where you need them. Mounting height changes where the fixed beam pattern lands: a roof-rack or A-pillar installation shifts both zones compared with a bumper or grille mount near headlamp height.
After moving the bar, re-aim it; the former setting may leave shadows beyond dips or obstacles. Test coverage on level ground and across representative terrain at night, adjusting the bar to illuminate useful distance without sacrificing nearby ground coverage. Confirm the beam stays directed along your travel path.
Avoid Glare and Bounce
For a combo beam, choose a mid-to-upper central mount, such as the upper grille, without placing it so high that dust, weather, or the windshield edge reflects light back toward you. Greater height or width raises backscatter risk from rain, snow, dust, and windshield edges. Aim the central spot’s hot spot onto the trail; keep outer flood on near edges, not sky or bonnet.
Spill can return glare and reduce contrast. A bumper, grille, or inner mount keeps the bar near the factory headlamp axis, easing hood glare and aiming. After installation, test at night on a dark surface. Adjust for bounce and reflections at normal driving speed; the beam pattern alone can’t correct poor mounting height or angle from bounce or reflected spill.
Weather and Dust Conditions
In rain and haze, a wide flood beam can lose contrast faster than a narrow spot beam as airborne droplets scatter its light.
In dust, fog, or snow, backscatter can create glare, especially if you’ve mounted the bar high or aimed it too flat. Adjust your beam for conditions, favoring controlled forward optics and keeping light on the trail rather than the sky or bonnet.
Rain and Beam Visibility
Rain and light fog scatter light, so a combo beam’s center spot preserves forward reach while its surrounding flood illuminates nearby ground and trail edges. In reduced contrast, this pairing helps you identify distant hazards without giving up visibility of ruts, shoulders, and nearby obstacles.
Aim the bar to keep its pattern on the travel surface; mounting it high or pointing it too far upward can send more light back from rain and spray, reducing what you can see. Select optics with controlled output and limit stray light, since higher lumen ratings alone don’t guarantee clearer vision.
In changing weather, use the spot for long-distance identification and the flood to monitor close trail edges. Slow down when contrast drops and maintain distance.
Dust and Backscatter
Dust creates a different visibility problem than rain: a wide, high-mounted combo beam can illuminate suspended particles, scattering light back toward your eyes.
A combo bar’s flood portion spreads light across nearby terrain, but in dry trail dust, that wider spill can brighten particles between you and the trail. Those particles reflect light toward you rather than letting it travel cleanly forward. The result can be haze, reduced contrast, and eye fatigue, making the bar feel less effective even when it produces substantial output.
Roof or A-pillar mounting can increase the effect: a higher beam may cross more drifting dust, while its spill sits closer to your sightline. Fog, snow, and rain can scatter light, though the particles and conditions differ. In dust, expect broader near-field visibility but less clean long-distance reach; backscatter can obscure obstacles instead of revealing them. Safety depends on judging visibility, not brightness alone.
Adjusting for Conditions
Adjust your combo beam to the conditions: keep the spot’s hot spot focused down-trail, and use the flood only to fill the near periphery. In dust, wide flood can illuminate suspended particles and return glare faster than the spot core. Avoid over-aiming; set mounting height and beam angle to limit backscatter. In snow or light fog, retain enough spread to reveal ruts and rocks, but lower upward aim slightly to prevent sky or hood spill.
| Condition | Adjustment |
|---|---|
| Dust | Keep flood restrained; avoid upward aim. |
| Snow or light fog | Add near-field spread; lower aim. |
| Rain | Favor spot-to-flood balance; limit backscatter. |
| Changing weather | Keep hot spot ahead; fill periphery only. |
Choose a bar by spot-to-flood balance, not lumens; excess flood amplifies backscatter and can obscure trail ahead.
Loading Gear at Camp
When loading gear at camp after dark, a combo beam light bar illuminates the work area without sacrificing distance: its flood beam reveals straps, jerry cans, recovery gear, and nearby obstacles by the bumper, while its spot beam helps you judge placement on a trailer ramp, rack, or campsite marker. That combination lets you check the loading zone and intended destination.
Unlike a dedicated spot bar, its wider spread reduces tunnel vision, revealing trail edges, posts, and low items. Unlike a dedicated flood bar, the spot hotspot provides reach to assess a ramp, rack, or marker. Aim the bar downward so light falls on the work area, not sky or bonnet. Scan for trip hazards, keep your footing clear, and secure each load before moving the vehicle.
Glare for Oncoming Traffic
A combo beam light bar can cause more glare for oncoming drivers than a pure spot beam because its wider flood component sends light into peripheral angles. Mounting the bar too high or aiming it level increases risk: the broad beam can reflect from dust, rain, snow, or pavement into other drivers’ eyes.
Even modest lumen output won’t prevent glare if shallow reflectors, misaligned LEDs, or a scattering lens spread light beyond the intended cutoff. Choose optics with tight beam control, then verify aim against a wall; keep the hotspot on your target without washing the roadway above your line of travel.
In dusty or wet conditions, flood light can intensify backscatter, so maintain correct aim and use auxiliary-light controls responsibly for safer driving.
Overlooking Wiring Capacity
Proper beam aim controls glare, but undersized wiring can still keep a combo light bar from performing safely. Check the bar’s spec plate for current draw, then match both feed wire and ground to that amperage; lumens don’t determine wire capacity.
- Don’t assume a factory headlight circuit can supply your roof- or bumper-mounted bar; long runs and weak grounds can cause voltage drop and dim output.
- Use a relay harness and correctly rated fuse; thin wire or incorrect protection can overheat, suffer heat damage, or flicker under vibration.
- Add all lighting loads before choosing supply wiring and switch contacts. If your bar and extra floods or spots exceed their ratings, reduce the load or upgrade components.
Stable voltage supports both spot and flood performance.
Verify Light Bar Certification
Check a combo light bar’s compliance label and documentation before installation; SAE- or ECE-style approval must apply to the exact beam pattern you’re buying, since spot, flood, and combo optics distribute light differently.
Ask the manufacturer for a test reference or paperwork tied to that certified pattern. A raw-lumen figure, even tens of thousands, doesn’t prove that the beam controls glare or meets requirements.
Confirm the certified configuration matches your mounting location and aiming method; a compliant bar can still become non-compliant if you point it incorrectly. Set the bar as specified and verify its beam direction. If the label is missing, unclear, or unsupported by documentation, treat the unit as unverified. Don’t install it until you confirm its compliance with applicable local rules.
Conclusion
Choose a combo beam when you need long-range visibility and useful peripheral coverage on the trail. Its central spot beam reaches ahead, while outer flood light reveals nearby terrain. Aim the bar to avoid glare, especially on switchbacks or near traffic, and adjust for mounting height and loads.
Check wiring capacity, weather protection, and certification before installation. Used thoughtfully, this pattern helps you spot hazards sooner without sacrificing awareness at the edges of your route.