LED Headlight Bulb Size Chart by Vehicle: Find Your Fit Fast
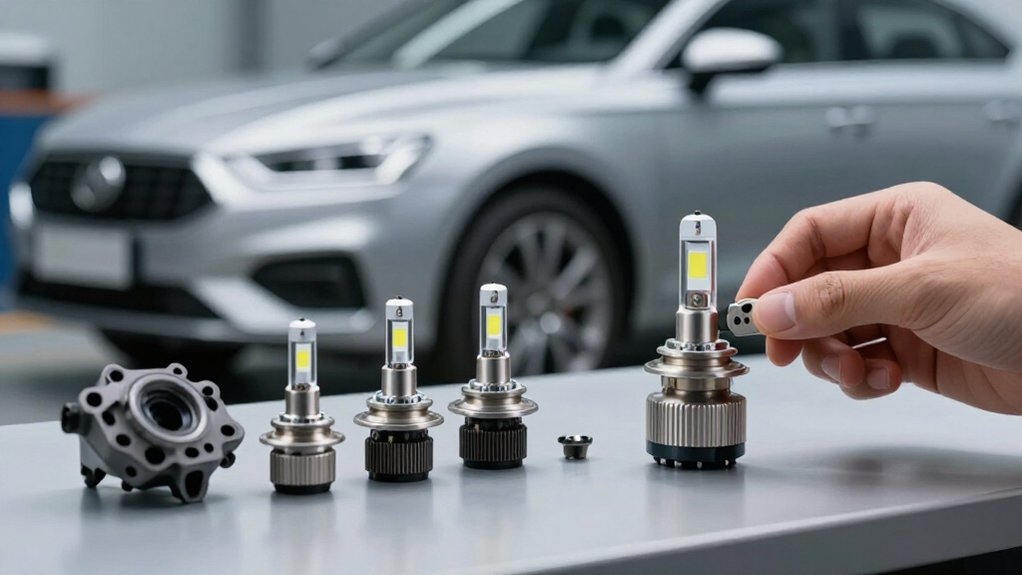
Enter your vehicle’s year, make, and model in a bulb selector, then choose low beam, high beam, dual beam, or fog light.
Check trim-specific listings and match each code—such as H7, H11, 9005, or H4—against your old bulb.
H4 or H13 may serve both beams, so don’t assume low- and high-beam sizes match.
Verify the connector, base, factory lighting type, and fit.
Correct sizing doesn’t guarantee focus: index emitters properly and check dust-cap clearance.
More checks follow.
Vehicle-Specific Fit Lookup
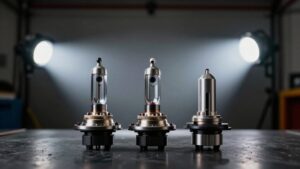
To find the right LED headlight bulb size, enter your vehicle’s year, make, and model in a bulb selector, then check the low- and high-beam listings. Use the results to identify the specified bulb type for each beam; fitments can differ between low and high beams and across trim levels. Check the base code printed on your old bulb and match it to the listing. Common codes include H1, H4, H7, H11, 9005/HB3, and 9006/HB4.
If your car uses a dual-beam bulb, confirm the selector shows a combination type, such as H4 (60/55W, P43t base) or H13 (60/55W, P26.4t base), not a single-beam option.
Match the electrical setup; CANbus-compatible LEDs may prevent flickering or fault messages. Verify OEM markings after changes to fit.
Vehicle Bulb Size Chart
A vehicle bulb size chart links your year, make, model, and lighting position to the correct headlight or fog-light socket code, such as H1, H4, H7, H11, 9005, or 9006. Choose the position first: low beam, high beam, dual-beam, or fog light. Match the listed code to your vehicle configuration; don’t assume one socket fits every trim or market.
| Position | Chart check |
|---|---|
| Low beam | Confirm vehicle-specific socket |
| High beam | Verify separate bulb |
| Dual-beam | Match combined application |
| Fog light | Check listed fitment |
An incorrect size may not seat, focus the beam correctly, or increase heat inside the housing. For LED replacement, verify beam-pattern compatibility and check CANbus support when your vehicle needs it.
Check year and trim notes; packages can change lamp assemblies.
LED Bulb Code Meanings
LED bulb codes identify the socket size and connector type required for a specific vehicle application, and they can indicate whether the bulb serves one beam or both. Codes such as H1, H4, H7, H11, 9005 (HB3), and 9006 (HB4) match a vehicle’s fit and connector; they aren’t interchangeable.
They also distinguish beam functions: H7 serves a low beam, while H4 combines high and low beams in one bulb. For example, H1 uses a filament, 55W rating, and P14.5s base; H4 uses a 60/55W rating and P43t base. Before ordering an LED replacement, check your owner’s manual or read the marking on your bulb base. The wrong code can prevent seating, disrupt alignment and beam focus, or create electrical and overheating problems in your assembly.
Wattage and Color Temperature
When choosing LEDs for your vehicle’s headlight housing, don’t judge performance by wattage alone: compare lumen output and confirm the kit’s electrical draw suits your circuit.
Color temperature, measured in kelvins, typically falls between 5000K and 6000K for a white output without excessive blue tint. Prioritize a controlled beam pattern and consistent color over maximum brightness to limit glare for oncoming drivers.
Understanding Bulb Wattage
Check wattage and color temperature only after confirming the correct bulb code—such as H7, H11, 9005, or 9006—for your vehicle’s low- or high-beam position. Factory halogen bulbs commonly list about 55W for H7/H11, while an H4 bulb may be rated 60/55W for its dual-beam functions. LED replacements often draw much less power for similar or higher output because they convert electricity into light more efficiently.
That means a lower LED wattage alone doesn’t tell you whether the beam will look dimmer; compare the specified output and intended low- or high-beam use. Color temperature, measured in Kelvin (K), describes light appearance: around 5000K–6000K gives a generally clear white look. Higher values shift toward blue-white and may affect visibility and glare risk.
Choosing Safe Wattage
Once you’ve confirmed the bulb code and beam position, choose an LED wattage suited to the headlight circuit, not simply the highest advertised output. LEDs draw far less power than halogens, often delivering comparable illumination at lower wattage. Match the replacement to your vehicle’s intended load, and prioritize a controlled cutoff and shaped beam over inflated brightness claims.
A high-output bulb can scatter light in a reflector or projector not designed for its emitter, increasing glare for oncoming drivers. Choose a color temperature in the recommended 5000K–6000K range for clear visibility without excessive blue glare. Replace both sides together to maintain matched brightness and color. If your vehicle monitors bulb load through CANbus, select compatible LEDs to prevent flicker or bright-dim cycling from electrical mismatch.
Measuring Color Temperature
Color temperature, measured in kelvins (K), describes an LED headlight’s appearance, not its brightness. A 5000K–6000K bulb typically produces a clear white look. Lower-K bulbs appear warmer or yellower; higher-K bulbs look cooler or bluer, but neither rating tells you how much light reaches the road.
Check the bulb’s lumen (lm) output to compare brightness. Wattage describes electrical power use, and marketing claims about watts don’t reliably indicate light output. A higher-lumen bulb can emit more light without changing its color temperature, while a high-K rating alone won’t guarantee useful illumination.
Your headlamp’s reflector or projector and beam pattern affect where that light lands. Choose a bulb designed for your housing, with a controlled beam and correct cutoff, and pair sides for consistent color and output.
Matching Temperature to Driving
For most vehicle headlamps, choose a 5000K–6000K LED for balanced white light; higher-K bulbs look bluer and may reduce usable contrast in rain or fog. For your vehicle, treat color temperature as a visibility choice, not a measure of output. A neutral-white tone suits common low-beam and high-beam applications across dry and wet roads.
If you drive frequently in rain or fog, stay near 5000K rather than selecting a colder, bluer bulb. Check your owner’s manual and headlamp type before buying; the correct bulb size and approved fit still matter. Don’t use wattage alone to compare LED replacements: manufacturers rate electrical consumption in watts, while lumens indicate emitted light. Compare lumen figures from compatible bulbs, and avoid assuming a higher watt rating means a brighter road. When you replace a bulb, change both sides with the same model and color temperature so your paired lamps produce consistent illumination at night.
Balancing Brightness and Glare
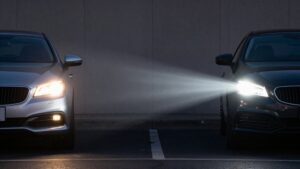
When selecting LED headlight bulbs, prioritize a controlled beam pattern that matches your vehicle’s low- or high-beam optics, not the highest brightness claim. Check the bulb size chart for your vehicle’s specified low-beam or high-beam position; the correct base alone won’t assure proper focus in its reflector or projector housing. Compare lumen output, but don’t treat a higher number as better visibility: excess light outside the designed cutoff can glare oncoming drivers.
Choose a color temperature near 5000K–6000K for balanced white illumination. Avoid excessively blue output; it can scatter more and reduce visibility in some conditions. Wattage claims matter less than beam optics and compatibility with your vehicle’s intended beam function.
Also, verify the bulb’s cooling design: heat management helps maintain stable output and color over time. After installation, aim headlights to the vehicle maker’s specification and check cutoff.
Confirming Trim-Level Compatibility
Because bulb fitment can vary by trim, check your exact trim and lighting type before ordering. A make, model, and year don’t identify every application: compare your trim’s low-beam, high-beam, or fog-light position with the vehicle-specific chart. A H7, H4, or H13, for example, may serve different circuits and isn’t interchangeable. Check the existing bulb’s base markings or OEM part number to verify the specification for your trim before you buy.
Then confirm the bulb code through a reliable bulb finder or chart; trim variations can change the listed size. If your vehicle has factory HID/Xenon or LED lighting, don’t assume a standard halogen replacement fits. That system may need a different upgrade path, including HID ballast bypass plugs or other trim-specific required parts.
Bulb Polarity and Orientation
Even if an LED bulb is non-polarity-sensitive, verify the connector alignment on any driver or adapter harness, then index the bulb so its emitter and cutoff shield produce a level, correctly aimed beam. Align the base tabs with the socket’s matching slots; straight and angled-tab designs aren’t interchangeable. Don’t force the bulb: incorrect indexing can leave the cutoff too high or low, create glare for oncoming drivers, or damage the seat.
If your kit has an external driver, connect it as specified and secure its wiring where it won’t twist the bulb or interrupt full seating. Flicker or a dashboard fault may point to CANbus or anti-flicker wiring, not poor orientation, so diagnose the circuit before repositioning a correctly seated bulb.
2018 Honda Civic Fitment
For a 2018 Honda Civic, confirm the LED headlight bulb size in your owner’s manual or from the code on the existing bulb base; the fit may vary by headlight housing and beam position.
Common codes include H11, H7, 9005, and 9006. Enter 2018, Honda, and Civic in a vehicle bulb finder, then select low beam or high beam for the position you’re replacing.
For an upgrade, prioritize controlled beam pattern over lumen claims; the cutoff should remain aligned to limit glare for oncoming drivers. If your Civic’s lighting electronics trigger flicker or dashboard warnings, choose a CANbus-compatible LED or the kit’s anti-flicker/CANbus adapter.
Replace bulbs as a matched pair, targeting the same brightness and color temperature, often 5000K to 6000K, for even nighttime illumination.
Connector Seating Checks
Before installing an LED headlight in your 2018 Honda Civic, compare the bulb connector’s shape and tab indexing with the housing, then confirm the base seats fully and locks without force. Match the bulb type listed for your Civic; a secure plug alone can’t correct wrong beam wiring.
- Check H7, H11, or 9006/9005 indexing; don’t twist a mismatched base into place.
- For H4, H13, or 9003, verify high- and low-beam wires reach their correct terminals.
- With H7 or 9006, connect the single-filament plug fully; it serves one beam circuit.
- Secure each LED driver plug, matching socket orientation to preserve the Civic’s intended cutoff.
- If your Civic monitors bulbs, use CANbus-compatible LEDs; proper seating can help prevent flicker and warnings.
Check both beams.
Cross-Check the Dust Cap
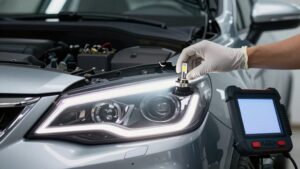
After confirming the connector seats correctly, check that your 2018 Honda Civic’s dust cap has enough room for the LED bulb’s rear housing, heat sink, and any external driver wiring. Before buying, compare the cap opening’s shape and diameter with the bulb assembly; the code alone won’t confirm clearance.
- Check the rear housing clears the Civic’s cap before you tighten the assembly.
- Allow space for the external driver box and wiring; don’t pinch leads beneath the seal.
- Confirm a fanless heat sink or fan assembly fits without blocking cooling airflow.
- Seat the cap evenly; a crooked fit can admit moisture into the headlamp.
- If the original cap won’t clear the bulb, choose a vehicle-compatible cap or adapter specified for your Civic’s clearance before installation.
Conclusion
Use the chart to identify your vehicle’s bulb code, then verify it against the owner’s manual and trim-level fitment data. For a 2018 Honda Civic, don’t assume every trim uses the same housing or connector.
Confirm wattage, color temperature, polarity, and LED orientation before installation. Seat the connector fully, check beam alignment, and make sure the dust cap clears the heat sink. A cross-check prevents flicker, poor cutoff, and moisture entry, so you’ll get a secure fit.