How to Upgrade UTV Headlights to LED for Brighter Trail Riding
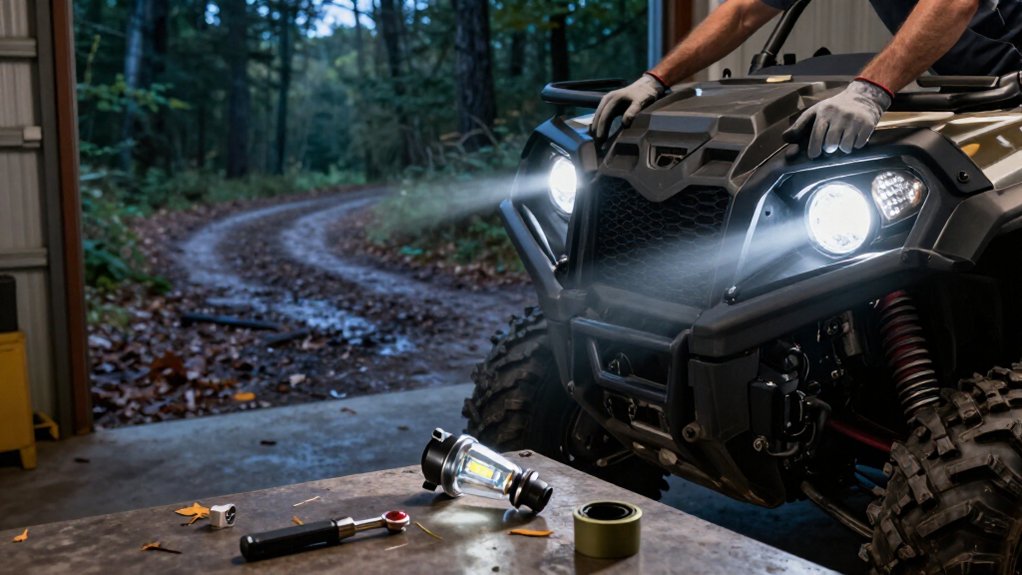
You can upgrade your UTV’s halogens to LEDs for a whiter, wider trail view and lower power draw.
First, calculate load and choose a compatible fused relay kit with gauged wire. Park level with your cargo, switch off lights, and disconnect the negative battery cable.
Remove lamps without tugging wires, seat LEDs squarely, then route and secure wiring.
Test low and high beams at night; fix flicker before riding.
The steps ahead cover aiming and upkeep.
Brighter Trails, Safer Rides
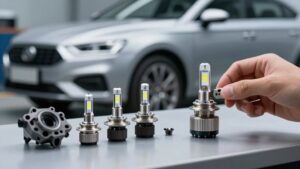
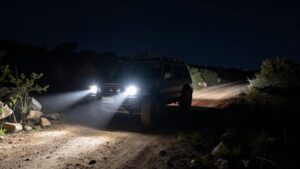
When you swap halogen headlights for LEDs, you get crisp, whiter light that reaches farther and covers more of the trail while drawing less power from your UTV’s electrical system. That wider beam can help you spot ruts, branches, and obstacles earlier, giving you more time to choose a safe line and slow down. Use wide-area LEDs to illuminate nearby terrain, or add distance lights when you need to see farther ahead.
Mount every light securely, then test and aim it on level ground with your UTV loaded, so the beam improves visibility without creating glare for other riders. Use heavy-duty fused wiring and a quality switch.
Protect the UTV’s Battery
LED headlights draw less power than halogens, reducing strain on your UTV’s battery and alternator during long night rides. To protect your electrical system, match the upgrade to available capacity and keep connections sound:
- Choose low-draw LEDs; their 30,000–50,000-hour lifespan means fewer unexpected failures than halogens’ 1,000–2,500 hours.
- Before adding a light bar or auxiliary lamps, calculate total load to avoid hard starts or a drained battery.
- Install a fused heavy-duty kit with a correctly sized relay and proper-gauge wire to limit voltage drop and heat.
- Check charge, clean terminals, and tighten connections before riding; LEDs need steady voltage for full brightness.
If lights dim or flicker, stop and inspect the circuit before continuing; lighting and starting power are essential on remote trails at night.
Step 1: Park on Level Ground
Park your UTV on flat, level ground before installing or aiming LED headlights so the beam pattern matches the terrain you ride on. Keep your usual nighttime cargo, gear, and passenger weight in place; load can compress suspension and change headlight height.
Choose the same level surface you’ll use for aiming. A flat staging area works; don’t aim uphill or downhill, since slopes can set beams too high and blind approaching riders.
Turn headlights off while you position the UTV. Then switch them on briefly to check beam height and cutoff against a target, without moving the vehicle or disturbing alignment. Keep the tires settled and steering straight throughout.
Before your first full night ride, repeat the check; trail vibration may have shifted the aim.
Step 2: Disconnect Negative Battery Cable
Before handling the headlights or wiring, locate the battery and disconnect the negative (-) cable first to reduce the risk of short circuits.
Keep the cable clear of the battery post and nearby metal; accidental contact can restore power or create a short while you work. If your LED kit includes a relay harness, leave the terminal disconnected while routing fused power leads and securing connectors.
This isolation protects your UTV’s electrical system and the LEDs from damage caused by a touch or misplaced tool. Don’t let the loose cable spring back onto the post.
Once all LED wiring and connectors are fully secured, reconnect the negative cable. Switch on low and high beams, and check the control switch for operation before riding at night.
Step 3: Remove the Factory Headlights
With the negative battery cable disconnected, park your UTV on level ground, switch it off, and let the headlight housings cool.
Use a clean work area and keep hardware organized. Disconnect each headlight wiring harness before loosening the housing. Remove the mounting screws, bolts, or clips with the correct tool; support the housing as you release it to prevent drops or damage. Don’t pull on the wires, and avoid forcing stuck tabs.
Once removed, inspect the lens and reflector for cracks, clouding, or broken tabs. Damaged optics can reduce LED performance even after replacement. Check terminals and connectors for corrosion or looseness; clean them as needed to help prevent intermittent contact and flicker. If your UTV uses halogen bulbs, note the bulb type and housing beam pattern.
Step 4: Seat the LED Headlight Assemblies
Seat each LED assembly fully in its UTV-specific housing, keeping the lens square so the seal compresses evenly against mud and water. Check that mounting tabs and brackets bottom out without forcing the unit; a gap or twisted fit can shift the beam pattern, create glare, or leave trail sides underlit.
Press the plug-and-play connector straight into its socket until its lock clicks, then tug gently to confirm it’s secure. A loose connection may flicker or dim under vibration, reducing usable light when you need it.
Tighten fasteners evenly to the manufacturer’s specification, using the correct tools and avoiding overtightening plastic housings. After your first night ride, inspect the assemblies and retighten hardware if needed; trail vibration can slightly settle a newly seated unit.
Step 5: Aim the Headlights Properly
Once the LED assemblies are secure, aim them on level ground with your UTV loaded as you normally ride, including passengers and cargo. Your ride height changes beam angles, so unloaded aiming can leave ruts and hazards hidden.
With headlights on, adjust each beam cutoff to send light down the trail, not onto the ground immediately ahead of your tires. This lets you read terrain, not glare. Keep beams low enough to avoid lighting branches and signs, yet high enough to reveal obstacles early, giving you more time to react. Fine-tune alignment to control glare and prevent brush from washing out your view. After your first ride, recheck the aim and retighten or adjust hardware. Confirm beam performance at night before trips.
Step 6: Route and Secure Wiring
Route the wiring along the UTV’s existing harness paths, away from moving parts and hot surfaces. Secure it with rugged clamps or protective loom to prevent chafing against brush, rocks, or frame edges. Leave service loops near light mounts so you can remove or adjust components without straining connections.
Size the wire for the LEDs’ total current draw and the full run length. Longer roof or light-bar runs need suitable gauge to limit voltage drop and heat buildup. Use weather-resistant, sealed connectors, adding heat-shrink where appropriate to guard against mud, rain, snow, and vibration.
Feed power from the battery through a fuse and appropriately sized relay; this keeps high current off the factory switch and helps prevent flicker or dimming. Before tightening everything finally, ride after dark, then inspect the wiring and recheck its routing after initial trail vibration.
Test Both Beam Settings
After securing the wiring, test both beam settings at night on level ground. Park your UTV facing a trail sign or fence about 100 feet away. Switch between low and high beams, comparing cutoff sharpness, glare, and reach. Low beam should cover nearby obstacles and ruts without washing out the ground; high beam should project crisp white light farther downrange for straight-ahead travel.
Check turns and uneven sections while stationary, and sweep the UTV left and right. Focused optics keep illumination on the trail instead of scattering into brush and creating glare.
Adjust both modes so low beam’s near edge lights the intended path and high beam reaches farther ahead. Recheck aim after your first rough ride; vibration can shift it.
Diagnose Flickering LED Headlights
If your LED headlights flicker, check the power connections before riding at night. Inspect the headlight connector, ground strap, switch, and harness for looseness, heat, or wear. Replace an accessory-circuit fuse or relay with a known-good part. Measure battery voltage with the UTV running and lights on; a significant drop calls for a heavy-duty kit with correctly gauged wire, relay, and fused lead.
Confirm your headlight driver supports the LEDs; an incompatible load may trigger rapid cycling. Seat LEDs without vibration stress, tighten mounting hardware, then retest at night. Stop riding if flicker limits visibility.
| Symptom | Check |
|---|---|
| Loose plug | Reseat before darkness hides your trail |
| Voltage drop | Add fused, relayed heavy-duty wiring |
| Rapid cycling | Match driver with the correct load harness |
| Trail vibration | Secure mounts; retest after repair |
Clean Lenses After Mud
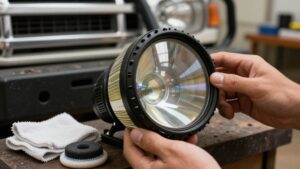
Mud can cut LED headlight output by scratching the lens, so rinse off grit with clean water and let the lens dry fully before wiping it with a soft microfiber cloth.
Once dry, inspect the surface under a bright light. If a fine film leaves the lens hazy, apply a headlight safe plastic cleaner or restorer; avoid harsh solvents that’ll damage the cover. Work gently and follow the product directions so the LED optics can focus light properly.
Check for water spots and streaks, then clean until the lens looks uniformly clear. Residue can scatter light, causing glare and flare that make it harder to read the trail at night. Before riding, confirm the assembly is secure. If cleaning or service moved or loosened the housing, re aim the headlights and verify the beam lands on the trail, not in another driver’s eyes. Clear lenses help preserve useful visibility on every muddy ride.
Conclusion
With LED headlights, you can see the trail more clearly and spot hazards sooner. Before you ride, secure the UTV on level ground, disconnect the negative cable, and follow the kit’s wiring instructions. Route wires away from heat and moving parts, then test both beam settings before driving.
If lights flicker, check connections and grounds rather than ignoring the fault. After muddy rides, clean lenses to maintain output. A safe upgrade helps you ride with confidence.