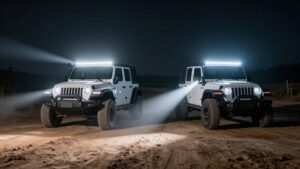
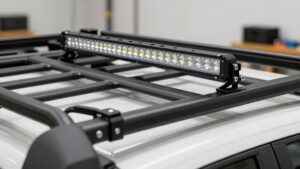
How to Install a Light Bar on a Jeep Wrangler (JL, JK and TJ)
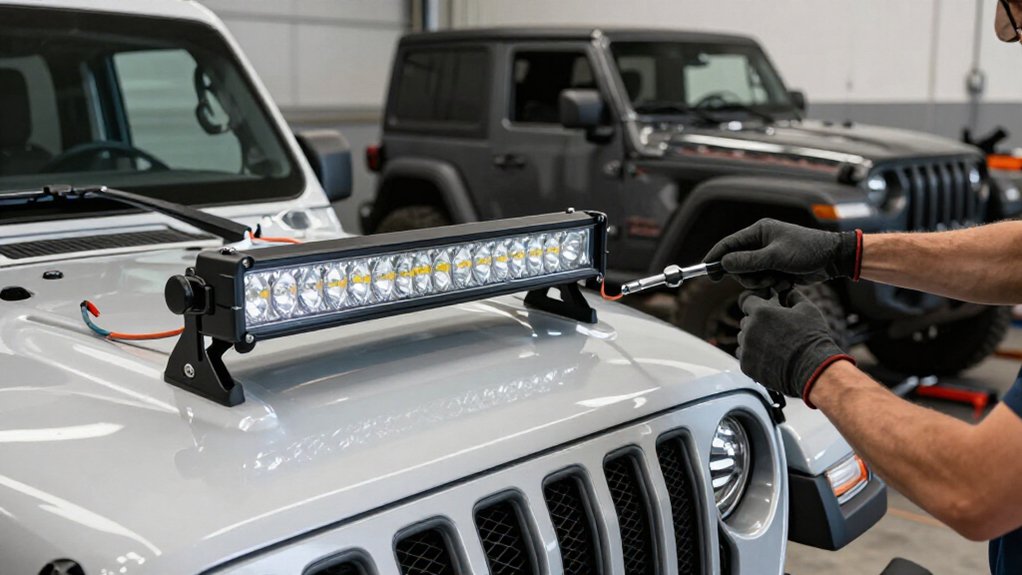
First confirm brackets and bolt patterns match your Wrangler JL, JK, or TJ; frames and routing differ.
Clean A-pillars, place foam pads flat beneath brackets, align holes, and tighten bolts evenly without shifting pads.
Route wiring through the gasket or firewall, clear of sharp, moving, or hot parts; secure without crushing insulation.
Reconnect battery correctly, aim the bar, then test engine-off and running.
The checks below can help catch fitment, power, and chafing issues early.
Wrangler Generation Fitment Notes
Check fitment by Wrangler generation before installing the bar: Raxiom windshield brackets and harnesses are commonly used on TJ, JK, and JL models, but bracket locations and wire-routing paths can differ. Confirm that your kit’s bolts and foam pads match your body style; TJ, JK, and JL windshield frames and upper trim aren’t identical.
On a 2015 JK, place the supplied bracket pads on the A-pillars beside the windshield to protect the paint from metal contact. Before tightening the bar-to-bracket bolts, position the light bar relative to the windshield and verify that the brackets seat correctly on your generation. Route the harness using a path suited to your Wrangler, keeping wiring clear of moving parts and pinch points. Don’t assume shared parts guarantee identical installation.
Freedom Top Gasket Routing
To route the wiring through the Freedom Top gasket area, loosen the right-side panel enough to slip the wire between the panel and the A-pillar without pinching the harness. Route the light bar lead from the side of the light into the cabin, keeping its insulation intact.
- Feed the wire through the gasket opening with a controlled bend; don’t force it against a sharp edge.
- Place the section between the top and A-pillar where the A-pillar cover will conceal it.
- Keep the run tight and controlled, leaving no loose loop that could snag when you move the top.
- Reconnect and tighten the right-side panel, then confirm the gasket seats normally around the wire.
Verify the harness isn’t pinched and the panel sits fully in place.
Step 1: Protect the Jeep’s Paint
Before mounting the brackets, place the kit’s foam pads between the metal and the A-pillars, exactly where the brackets will contact the paint, including around the bolt points. You should confirm each pad lies flat and fully covers its contact area before positioning the bracket beside the windshield. Keep the bracket aligned as you start the fasteners; don’t let its edge slide across the painted surface.
Use an Allen wrench and apply steady pressure while tightening so the bracket won’t shift or grind through the foam. Tighten bolts evenly and stop if a pad moves or bunches; reposition it before continuing. When you lift and secure the light bar, control its movement and keep tools clear of nearby paint. Inspect each contact point afterward.
Step 2: Verify Wrangler Generation Fitment
Since windshield mounting points vary by generation, identify your Wrangler as a TJ, JK, or JL by its model year before choosing a kit. Check the body-year designation in your vehicle documents; don’t rely on appearance alone, because TJ, JK, and JL use different windshield mounting locations and hardware.
Select a kit whose application list names your exact generation. For a JK, choose a windshield/A-pillar kit such as Raxiom’s, not a universal system intended for unrelated points. Before installation, compare the bar length with the bracket’s rated span and confirm mounting-hole spacing matches.
A 50-inch bar fits only when the kit specifies that span and pattern. Choose a generation-specific wiring harness, including any built-in switch, and verify firewall routing and battery leads reach intended connection points.
Step 3: Attach A-Pillar Brackets
With the A-pillar area clean, place the included foam pads between each Raxiom bracket and the painted surface to prevent metal-to-paint contact.
Position each bracket on the A-pillar beside the windshield, aligning its mounting points with the kit’s bolt pattern. Confirm the pads stay centered and don’t fold or shift as you seat each bracket.
Use the supplied bolts and an Allen wrench to secure the brackets at the marked locations. Tighten them, but don’t force the hardware or damage the mounting points.
Install and check brackets before you mount the light bar; they provide fixed anchor points for that step. Recheck that each bracket sits, remains clear of the windshield, and doesn’t contact painted metal directly. Verify bolt tightness and alignment before proceeding.
Step 4: Route Wiring Through Firewall
Route the light bar wiring through the factory-style firewall pass-through near the upper-left side of the steering column to protect the harness. Before you feed the cable, inspect both sides of the port and confirm it won’t contact existing wiring. Pass the supplied harness leads into the cabin, then route them toward the battery and switch connections.
Plan enough slack to reach the light bar terminals and the in-cabin switch or battery without pulling the wires tight. Keep the cable clear of moving parts, exhaust heat, sharp edges, and surfaces that could rub against body panels or the dash harness over time. Secure the run with zip ties at suitable points, but don’t crush the insulation or leave loops hanging in the engine bay. Check the full path before reconnecting power.
Step 5: Aim the Beam Pattern
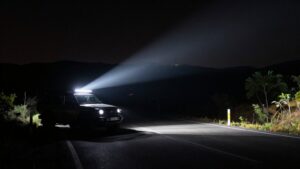
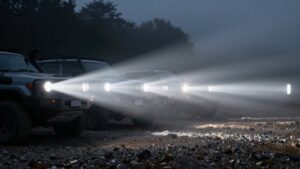
Before tightening the mounting hardware, switch on the light bar and aim it on a flat surface about 25 ft (7.6 m) from a wall. Place a tape mark at the target height, then align the beam’s brightest hotspot with it. Set the beam center slightly below horizontal to reduce glare and preserve useful distance.
If the cutoff rises above the horizon mark or lights the sky, lower the bar with its bracket adjustment points. Make small changes of a few degrees, checking beam height and lateral spread each time; keep illumination in your lane and limit spill into oncoming traffic.
After you finish aiming, bounce the suspension or take a test drive, then verify that pattern remains stable; settling can shift the aim.
Step 6: Reconnect the Battery Terminals
After confirming the beam holds its aim, reconnect the light bar harness to the battery, matching positive to positive and negative to negative.
Before making the connections, check that the wiring remains secured with zip ties and clear of hot engine components. Look for exposed conductors, loose ends, or damaged insulation that could create a short circuit.
Attach each harness lead to its matching battery post and seat the terminal clamp fully. If you removed the Jeep’s battery terminals, reconnect them in the correct orientation and tighten each clamp securely, following the vehicle manufacturer’s procedure. Don’t allow a tool to bridge the positive post and vehicle ground; remove conductive jewelry before working near the battery.
Confirm both terminals are tight before operating the vehicle.
Test Auxiliary Switch Operation
Test the auxiliary switch before closing up the wiring. Set the ignition to accessory/on if your harness requires it. Turn the switch on and verify that the light bar illuminates, with both sides coming on evenly. Turn it off and confirm the bar shuts down.
After you’ve routed the harness into the cab, operate the switch inside the cabin.
Before securing the wire, inspect its path and keep it clear of pinch points and tension on the switch wiring. Secure the wire, tuck it away from moving parts, then retest the switch to confirm operation with the wiring in its final position. If the bar doesn’t respond, switch it off and stop. Recheck the battery connections and the harness fuse and relay before trying the switch again.
Light Bar Flickers
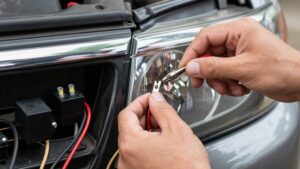
If the light bar flickers during the final switch check, turn it off and inspect the Raxiom harness connections and battery terminals for loose or poorly seated crimps and bolts. Clean and tighten each connection. Verify that ground contact at the body or battery negative is free of paint and rust; high resistance can cause intermittent blinking.
Check the firewall grommet near the steering column for pinching or damage. Secure the feed away from heat and vibration points with zip ties. Test the harness switch with the engine off and running; if flicker changes, have the battery and alternator checked before continued use.
| Symptom | Check | Action |
|---|---|---|
| Flicker | Ground | Clean, tighten |
| Changes | Engine state | Test supply |
Don’t operate until power stays stable.
Inspect Wiring for Chafing
Before powering the light bar, inspect the full wiring run along the Jeep’s body and A-pillar for contact with sharp edges or moving parts. Pay special attention to wiring near the Freedom Top gasket and around side panels; small shifts can pinch or abrade insulation over time. Check that zip ties secure the harness away from hot engine components and vibration points.
Inspect tight gaps at the firewall port and where the harness transitions from the engine bay into the cabin; verify the wire can’t bind when panels or doors move. Run your fingers along accessible sections only with power disconnected, and look for flattened insulation, cuts, or exposed conductor. If you find damage, stop; don’t reconnect or power the light bar.
Cover worn insulation with protective loom or electrical tape, and replace any section with exposed conductor before restoring power. Secure the repaired route so it can’t rub again.
Conclusion
You’ve installed the light bar and checked its operation. Before driving, confirm the brackets are secure, wiring is clear of sharp edges and moving parts, and the Freedom Top gasket sits correctly without pinching the harness. Reconnect the battery only after completing the wiring, then test the auxiliary switch and watch for flickering.
If the light behaves inconsistently, disconnect power and inspect the connections and wiring for chafing. Recheck fasteners periodically, especially after off-road use.