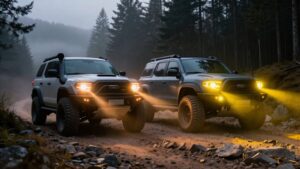
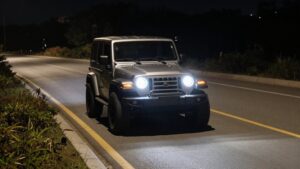
Jeep Wrangler Lighting Setup Ideas: Trail, Overland and Show Builds
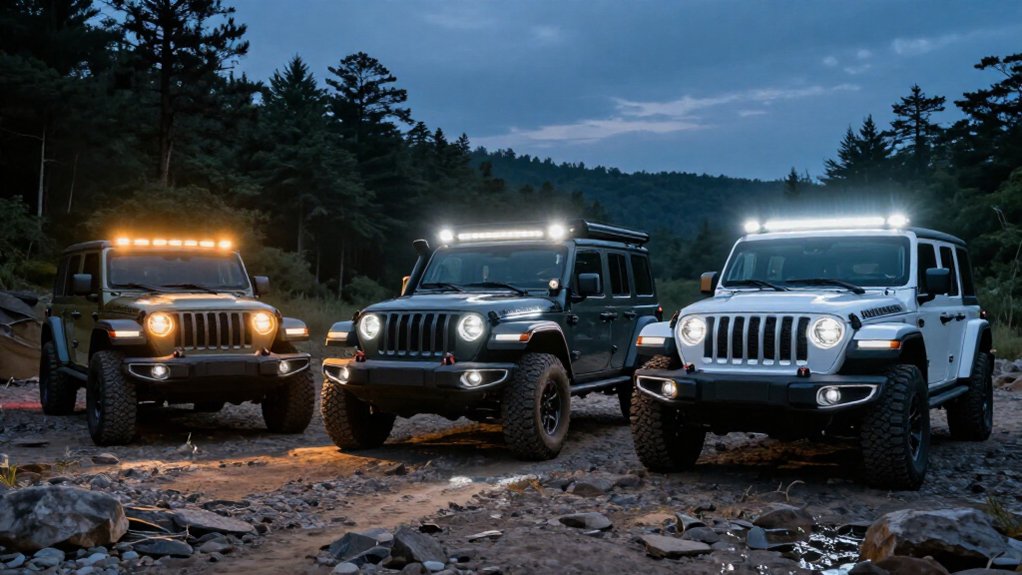
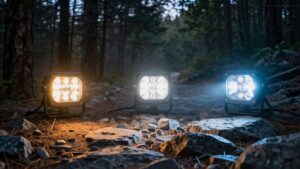
Build your Wrangler’s lighting around how you drive. For slow, technical trails, use low-mounted flood or combo beams to reveal nearby obstacles, tire edges, and ditches.
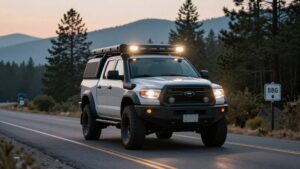
For overlanding, pair compact spotlights with moderate combo coverage to balance distance and side fill.
For show builds, choose fewer lights and aim them carefully, slightly outward. Match beam reach to your speed, prioritize optics and aiming over lumen claims, and add lights only when testing exposes a gap.
The setup details ahead can help you refine yours.
Build-Specific Lighting Priorities
Choose your Wrangler’s lighting by build and driving speed. For trail driving, prioritize low-lying flood or combo optics that reveal nearby obstacles, trail edges, and ditches at technical speeds. Overland travel benefits from a compact spotlight, often about three inches, paired with a moderate combo bar or pods; this balances close coverage with useful mid-range detail.
For a showcase Wrangler, use fewer well-aimed lights. Angle them slightly outward to reduce glare, hood kickback, and dust splash while preserving front-corner visibility.
Match beam pattern to pace: choose flood for tight, slow terrain, combo for mixed conditions, and spot only for faster travel in open desert. Start with headlights, then prioritize A-pillar lights; add bumper or roof lighting if night testing reveals a visibility gap.
A-Pillar Versus Bumper Mounts
A-pillar lights and bumper lights solve different visibility gaps, so mount each where its beam can help without adding glare.
Choose A-pillar lights first to fill side-forward gaps along trail edges, ditches, and turns factory headlights miss. Aim them slightly outward; compact spot- or fog-style optics offer controllable reach.
Bumper lights sit lower and forward, complementing headlamps around close obstacles. Flood or combo beams cover nearby terrain without duplicating side coverage.
| Mount | Best role | Practical beam |
|---|---|---|
| A-pillar | Side-forward trail | Compact spot/fog |
| Bumper | Near-front obstacles | Flood/combo |
| Layered | Add only as needed | Control glare |
Secure mounts against vibration, and test aim with your hood visible. High or poorly aimed beams can kick light off the hood or intensify dust, reducing contrast; adjust before driving safely.
Amber Lens Color Trends
Amber lenses offer a classic warm contrast, and selective yellow filtering can reduce harsh reflections in dust, rain, and fog. When you choose amber over white, prioritize beam pattern and aiming—not color alone—to keep trail edges and ditches visible.
Pair amber fog lights with white general-purpose lighting for usable near-to-midrange coverage across changing conditions.
Classic Amber Appeal
In dust, rain, or fog, amber lenses can make off-road light feel less harsh by reducing the contrast of glare. On a Wrangler, that softer appearance can make a properly aimed beam feel more usable in haze at similar output.
For tight A-pillar or ditch mounts near the windshield and hood, compact amber spots or combo lights fit layouts and help you read trail edges. Build the system in layers: use amber up front for nearby detail, then add bumper or secondary pods without letting them overpower your longer-range beams.
If you mix amber and white, aim the amber lamps slightly outward to illuminate side-forward areas. Check alignment after installation, and keep lamps controlled so light improves awareness without distracting you or other drivers.
Selective Yellow Filtering
Choosing yellow lenses is less about adding output and more about matching your Wrangler’s lighting to the conditions you drive in. If you cross dusty washes or encounter rain and fog, amber filters can soften contrast and limit reflections compared with pure white.
Mounting lights on ditch or A-pillar positions can help illuminate trail edges with less glare, particularly at dusk, when haze can make white beams bloom. But color can’t compensate for poor installation: aim each beam, keep it out of oncoming drivers’ sightlines, and verify coverage from the driver’s seat.
For night driving on dry trails, white reveals crisp detail. Treat yellow as a complement, choosing lens color according to how often you face dust or poor weather—not simply the lumen rating.
Warm Color Contrast
As warm-amber lenses gain popularity, their softer contrast can ease eye strain and reduce glare in dust, rain, and fog compared with harsh white light. Overland builders often choose amber for camp and near-vehicle lighting because its beam blends with surrounding illumination and draws less attention. Use it around camp without sacrificing awareness of hazards; keep output controlled and avoid aiming toward drivers or reflective surfaces.
For trail use, assess the optic: a flood or combination pattern can cover edges and ditches, while a spot reaches farther. Aim A-pillar or ditch lamps outward to light the shoulders without washing your hood. Proper beam control and alignment matter more than color alone. Reserve amber for poor visibility, white driving lights for clear, dry nights.
Lens Versus Light Color
Amber lenses soften contrast, which can reduce harsh reflections and glare in dust, rain, and fog, while white light reveals clearer trail detail in dry conditions. Choose lens color around the conditions you face most, not appearance alone. On dusty desert routes or during rain, amber can make changes feel less harsh and help you maintain control as visibility drops.
For clear, dry night driving, white light often shows more detail with greater brightness. Neither color compensates for poor beam control. Aim lamps carefully, keep their patterns below oncoming drivers’ sightlines, and verify coverage from the driver’s seat. A well-aimed, controlled beam in either color can outperform a brighter lamp pointed incorrectly. Match output and color to your routes, then recheck alignment after adjustments.
Amber Fog Light Trends
Lens color matters most when dust, rain, or fog scatters light back toward the driver. Amber (yellow) fog lenses remain popular because their softer contrast can reduce harsh reflection and glare compared with standard white in poor air. For overland or trail use, you can reserve amber for dusty desert runs and wet or cold weather, while white serves as an all-purpose choice for clear, bright detail in dry conditions.
Mount amber lamps low and aim them to produce a controlled fog-style beam; a poorly aimed high-output light won’t compensate for misplaced coverage. Many builds use amber ditch or A-pillar fog-focused lights alongside separate primary or fill lamps. This layered setup lets you target the visibility gap where it matters most when conditions deteriorate.
Style Meets Visibility
On a Jeep Wrangler, amber lights can add a distinctive look while softening contrast in dust, rain, and fog, where white light may reflect off particles and increase glare. That’s why amber lenses suit overland rigs in harsh weather, while white helps you pick out detail on dry trails. A well-aimed yellow or white lamp beats a poorly aimed high-output one.
Mount low amber ditch lights on the A-pillars, angled outward to light trail edges and side-forward ditches instead of duplicating your headlights. For slow technical trails, combo or flood beams give controlled width over long throw. Prioritize beam pattern and aiming over color: low-mounted lamps in dust can create a wall of light or glare when optics or alignment are poor. Proper setup remains critical.
Lighting Pattern Preferences
Match your beam pattern to the terrain: use flood or combo lighting for slow, technical trails, and add a spot beam for high-speed runs so you don’t outrun your light. Combo optics balance distance with side-forward fill, while cornering beams help you see ditches and turns.
Compare lux and candela—not lumens alone—and choose white or amber light based on your visibility needs and conditions.
Spot Versus Flood
For Jeep Wrangler trail lighting, choose the beam pattern to match your speed and terrain: flood beams spread light across nearby obstacles and trail edges, while spot beams project farther ahead on open roads.
On slow, technical trails, switchbacks, and rock-crawling routes, choose flood lighting to reveal the full trail width, nearby edges, and obstacles beside your tires. Its broad coverage helps you place each wheel, but it won’t deliver the long-distance throw you need at speed.
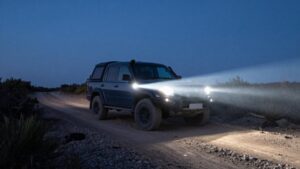
For faster desert runs or open terrain, use a focused spot beam to see farther down the track and identify hazards earlier. Don’t judge output by lumen claims alone: weak optics can create a bright wall of light without useful depth.
Check the beam’s reach and usable coverage, then match it to your pace; a spot-focused setup can leave close, wide obstacles dangerously obscured. That mismatch limits near-field awareness, so choose optics and beam reach for the conditions you actually drive.
Combo Beam Patterns
When trail conditions shift between tight obstacles and open stretches, a combo beam balances spot-like distance with flood-like side fill. A combo optic works well as your primary when mixed speeds demand forward reach and usable near-field visibility. You can pick out approaching obstacles while keeping trail edges and ditches visible, reducing blind spots on narrow routes.
Unlike a pure flood that may flatten depth or a pure spot that leaves slow technical sections dark nearby, a combo pattern covers range. Check beam focus, not just lumen claims; poor optics can create a bright wall that obscures distance cues. For layered lighting, position flood or combo pods to fill side gaps and the trail perimeter. If you’re driving fast across open terrain, pair your combo primary with a spot or driving optic for added throw, instead of expecting one beam to do everything.
White Versus Amber
Choose white auxiliary LEDs for dry trails, where their crisp, higher-contrast light helps you read rocks and ruts. In dry conditions, white reveals detail. In dust, rain, or fog, amber softens contrast and can reduce harsh reflections, helping you distinguish target shape from glare.
Keep speed conservative when visibility drops.
Aim matters more than output: a controlled cutoff directs usable light, while a poorly aimed powerful lamp can waste light or dazzle others. Compact A-pillar spots in either color are easier to manage than large bars; aim them slightly outward for side-forward visibility. Many drivers use white for all-purpose driving, adding yellow only for frequent desert glare or particulate and low-visibility weather. Choose the beam that lets you identify hazards without compromising others’ sightlines.
Match Pattern To Terrain
On slow technical trails and rock sections, flood or combo beams light the near field and trail width, helping you spot ruts, brushy turns, and front-corner obstacles.
For high-speed desert or open running, use a spot beam to extend your view down the trail, then pair it with a combo or drive-style light. That coverage helps you judge edges and maintain control instead of seeing distance alone.
For mixed overlanding, make combo beams your primary layer and aim side-forward pods to fill gaps around turns and ditches.
Choose optics by beam quality, not lumen claims: poor optics can create a glaring wall of light, while tighter, higher-candela throw improves depth and visibility. Aim floods low; control spots to limit glare in dust, rain, fog.
Switch Panel Placement
Mount the switch panel within easy reach while you’re belted, often on the dash, A-pillar, or center stack, so you can control lights without taking your eyes off the trail.
Separate switches or labeled zones for A-pillar ditch lights and bumper near-front lights help you avoid sending glare into the wrong visibility conditions. Keep controls identifiable by touch, and verify their positions before driving.
If you’re aiming outward-facing A-pillar beams, accessible switches make night testing and on/off comparisons easier.
Group high-output primary lights separately from softer rock or scene lighting, so you can choose illumination without unnecessary glare.
Plan circuits’ routes from the battery and relay to their lights with a fused harness. Keep wiring clear of heat, sharp edges, and moving parts.
Waterproofing Auxiliary Light Wiring
Because splash, mud, and vibration can force moisture into weak connections, use sealed, waterproof connectors and heat-shrink butt splices, not tape alone, when extending auxiliary-light wiring, especially near the engine bay or at frame pass-throughs.
Choose lights and components rated at least IP67, which are dust-tight and water-tight for mud, rain, and washdowns. Route the harness with strain relief, securing it regularly so vibration can’t chafe insulation against sharp metal. Protect exposed runs with split loom, and fit a proper grommet wherever wiring crosses sheet metal.
Keep connectors accessible for inspection; don’t bury splices at low frame points where water collects unless they’re fully sealed and strain-relieved. Mount relays and switches in dry locations, and protect the power feed with a fuse close to its source.
Factory LED Compatibility
When adding auxiliary lights to an 2018-2023 JL or JT, account for the factory LED headlamp and DRL controls, plus any sensor or fog-light integrations your bumper may affect.
Before buying a bumper, verify its compatibility with adaptive-cruise sensors and decide whether losing factory fog lights or the skid plate is acceptable. The DV8 Spec Series winch bumper fits 2018-2025 JL and retains factory sensors and adaptive cruise, but doesn’t retain OEM fog lights or skid plate.
If you add ditch lights, angle them slightly outward to supplement factory LEDs, not wash out their beam pattern. Seal auxiliary wiring and connectors to an appropriate rating, such as IP67, to limit moisture reaching OEM electronics. After installation, test beams at night; confirm auxiliary output preserves the factory cutoff and useful visibility. Check again in rain or fog, when scatter can obscure hazards. Keep factory lighting unmodified unless vehicle-specific instructions authorize changes explicitly.
Rock-Light Placement for Crawling
Factory LEDs help you see ahead; rock lights reveal what’s beside and beneath the Jeep during slow crawls.
Mount lights low, close to each tire, so you can read ledges and undercarriage obstacles where depth and footing matter. Place fixtures at these points:
- Front wheel wells expose hazards approaching the tires.
- Center the next pair between the driver and rear-passenger doors to light the rocker rails.
- Add rear fixtures for continuous underbody spill as your Jeep articulates.
Choose cool-white, low-power options, such as RIGID Industries’ Rock Light Kit, for spotting without overpowering your driving lights. Aim wide enough to expose sidewall-sized hazards beside the rails, not ground beneath the bumper. Vibration and dust demand sealed IP67/IP68-class fixtures and rigid mounts to prevent aim drift.
Conclusion
Choose lighting around how you drive: trail rigs need controlled reach, overland builds benefit from balanced coverage, and show setups should keep wiring tidy without sacrificing function. Place lamps where they clear the hood and bumper, select patterns that limit glare, and use amber only when conditions justify it.
Secure sealed wiring, verify compatibility with factory LEDs, and position switches for quick access. Test every circuit before travel; aim lights responsibly to protect other drivers.