How Many Lumens Do Off-Road Lights Need? Brightness by Use Case
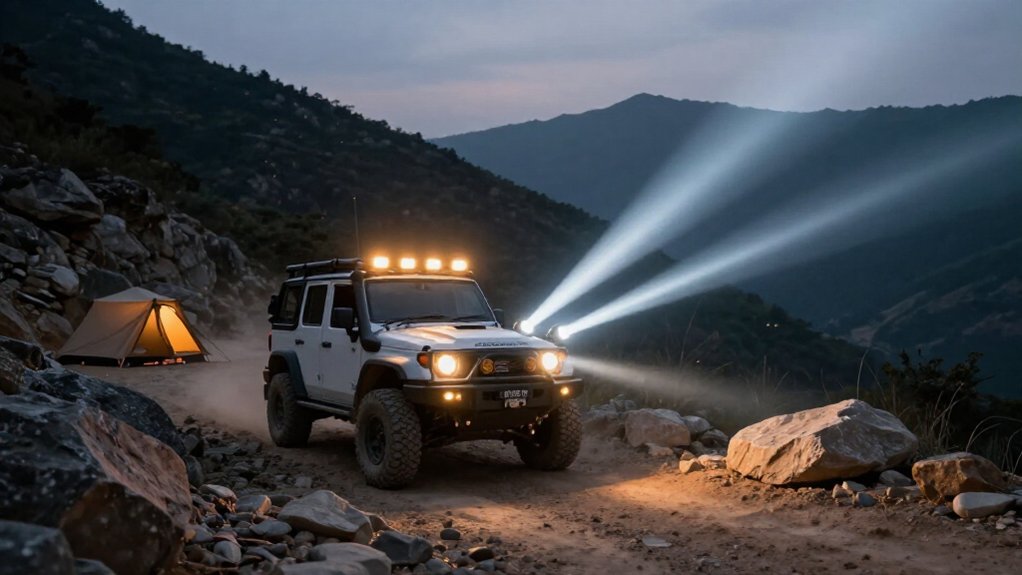
You’ll typically need 8,000–15,000 effective lumens for slow to moderate trail driving, with a 20–30-inch flood beam for nearby hazards.
Faster open trails may call for 15,000–30,000 lumens and combo coverage; high-speed sections can require 20,000–50,000 with a tighter spot.
Compare effective, not just raw, output, since optics reduce usable light.
Dust, mounting height, and beam aim also change visibility.
Keep your speed within stopping distance, and use the guidance below to refine your setup.
Trail-Speed Brightness Reference
At low to moderate trail speeds, aim for about 8,000–15,000 effective lumens** from a 20–30-inch flood beam** to reveal rocks, ruts, and track edges across your path. This broad pattern helps you read nearby terrain without relying on a narrow hotspot.
If you travel faster on open trails, consider 15,000–30,000 effective lumens with combo coverage: the beam can illuminate obstacles across your path while reaching farther ahead. For switchbacks or faster straight sections, a spot or drive beam can add distance; target roughly 20,000–50,000 effective lumens, adjusting for beam tightness and mounting.
Placement changes what reaches the ground: a roof-mounted light may provide similar coverage at 10,000–14,000 effective lumens, while a bumper-mounted setup may need 15,000–20,000. Judge usable illumination, not advertised raw output, and drive within visibility.
Per-Lamp Output vs. Total
Compare per-lamp output, then add the ratings to estimate your setup’s total lumens. A 6,000-lumen bar and three 2,000-lumen lamps each total 6,000 lumens on paper. That comparison helps you size a system, but it doesn’t guarantee equal trail visibility.
| Setup | Per-lamp | Total |
|---|---|---|
| Bar | 6,000 | 6,000 |
| Three lamps | 2,000 | 6,000 |
| Two lamps | 2,000 | 4,000 |
Count every lamp in your planned installation, including pairs, and multiply its rating by the quantity. Then compare totals across configurations. Placement and beam pattern matter: a focused 10° spot can illuminate distant obstacles better than a flood with the same total output. Choose coverage for your speed and terrain, and aim lamps to reveal hazards without blinding other drivers. Treat total lumens as a useful planning figure, not a substitute for checking how the beam reaches the trail.
Raw Versus Effective Lumens
Total lumens help size a lighting setup, but the number on the box may describe raw output at the LED chips, not the light that reaches the trail. Raw lumens measure total chip output; effective lumens estimate usable brightness delivered after optical losses. A bar rated at 50,000 raw lumens may deliver only about 28,000, 32,000 effective lumens. Lens transmission alone can fall by roughly 8, 15%, while heat absorption and poor reflector scatter reduce output further. Your actual forward illumination may sit near 60,64% of the advertised figure.
If a manufacturer lists only chip lumens, comparisons aren’t reliable. Check IES photometric files or candela distribution charts used in SAE/IES standards. Beam control and optics matter: a lower raw-lumen light can project more useful light forward than a higher-rated unit. This provides a basis for judging output before relying on lights at speed.
Terrain-Specific Beam Selection
Choose your beam for the terrain: use wide flood patterns for rocky, technical ground, and spot beams to extend visibility on tight trails. On open terrain, flood beams can improve near-field awareness; in dust, amber light may help preserve contrast.
For mixed routes, use a combo pattern to cover nearby obstacles and the trail ahead without wasting output on spill.
Open Terrain Flood Beams
On open terrain, flood beams give you the wide peripheral view needed to spot trees, ruts, washes, and roadside edges during slower technical driving. Choose a flood pattern with roughly 60–120° of horizontal spread and pair it with a 20–30-inch light bar producing about 8,000–15,000 effective lumens for solid close-to-midrange coverage. This broad lateral output helps you detect hazards around the vehicle without prioritizing distant throw.
If you’re mounting the bar higher, you may need fewer effective lumens to cover the same ground area because the beam reaches terrain at a better angle and wastes less light as glare. Judge performance by usable illumination, not advertised raw lumens; weak optics or reflectors can lose light through poor transmission, scatter, and uneven output.
Tight Trail Spot Beams
For tight trails with longer sightlines or higher-speed runs, a 10–30° spot beam concentrates light forward to reveal obstacle passages and ledges along your driving line. Target roughly 20,000–50,000 effective lumens when you need meaningful distance identification; prioritize measured output and candela over headline lumen claims. A wide optic can look brighter nearby yet waste light outside your narrow route, leaving distant hazards less defined.
Check peak intensity as well: about 150,000–300,000 candela suits long-throw setups and helps the beam retain reach through dust or light trail haze. Aim the lamps so the hotspot falls on your intended line without blinding oncoming drivers or obscuring contrast with glare. Match output to your speed, sight distance, and legal requirements, then test at night on familiar terrain. If you can’t identify an obstacle early enough to brake or steer smoothly, reduce speed rather than relying on more light alone in poor visibility conditions.
Rocky Ground Wide Beams
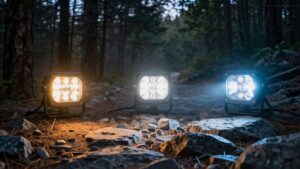
When rocky ground slows you to a crawl, a wide flood beam is more useful than the long throw suited to faster trail runs. Choose optics with a 60–120° spread to illuminate ruts, ledges, and rock edges across your path, improving lateral awareness without depending on extreme reach.
A 20–30-inch flood bar producing roughly 8,000–15,000 effective lumens gives you a practical starting point for close obstacle detection. Mount height affects coverage: a higher position casts a more forgiving angle onto the terrain, so you may achieve similar ground illumination with fewer lumens than a low bumper mount.
If rocks sit close or branches restrict clearance, prioritize controlled flood optics over raw output. Add under-vehicle rock lights or side-mounted ditch lights when you need to see obstacles directly beneath or beside your tires during slow, precise tire placement on technical lines.
Dusty Trail Amber Beams
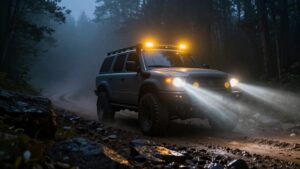
Dust clouds can turn white off-road lights into a wall of glare, so amber beams are often a better choice on dusty trails: their longer wavelength cuts through haze with less backscatter and helps reveal rocks, ruts, and other hazards. For slow, technical sections, choose a 60–120-degree flood to light the near scene and assess footing. In lighter dust, a 10–30-degree spot adds forward throw.
To highlight hazards 300 feet or more ahead, target about 20,000–50,000 effective lumens with a tight spot or long-range driving beam. Treat this as a guide, not a brightness contest: controlled optics matter more than headline output. Check photometric or candela data, and aim lamps carefully. Slow down whenever dust limits visibility; lighting can’t replace adequate stopping distance.
Mixed Terrain Combo Patterns
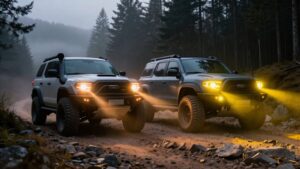
On mixed terrain, pair a tight 10–30° spot with a 60–120° flood: the spot helps you detect obstacles 300 feet or more ahead, while the flood reveals nearby rocks and trees at low speed. Target about 8,000–15,000 effective lumens for flood coverage, and add 20,000–50,000+ effective lumens in spot modules when you need useful light beyond 300 feet.
Don’t choose by raw chip lumens alone: review IES data and candela distribution to judge how light reaches the ground. A well-designed 40,000-effective-lumen combo with a tight spot can outperform a brighter, broad flood that spills sideways and sacrifices reach.
Higher mounting generally cuts glare and can provide comparable coverage with fewer effective lumens than a low bumper mount; aim and test beams safely before driving.
Match Brightness to Speed
As speed rises, your lights need to project farther ahead, not just produce more raw lumens.
At highway-style speeds, plan roughly 2,000–4,000 lumens for long-distance visibility; add output for faster travel through dark stretches. But don’t judge reach by lumens alone. Beyond 300 feet, beam candela matters: target about 150,000–300,000 cd to put light downrange.
At 60–100+ mph desert or race speeds, a spot/combo bar delivering 40,000–60,000 effective lumens offers a long-throw setup. Choose a tighter spot beam, around 10 degrees, because a broad flood can waste light to the sides and underperform despite higher output.
Layer your lighting as speed climbs: use a wide flood to read terrain, plus a spot to reveal hazards sooner. Keep speed within your visible stopping distance.
Legal Limits and Oncoming Traffic
When you use auxiliary lights on public roads, aim them to control glare and check local beam rules; legal limits often focus on cutoff and alignment, not a simple lumen cap. A 4,000 to 12,000-lumen bar can still be illegal or hazardous if its beam spreads upward, sits too low or wide, or points out of alignment; output alone doesn’t predict glare. Choose SAE/IES-certified lamps approved for traffic, with controlled driving or spot patterns that limit upward spill.
If requirements aren’t clear, keep highway auxiliary output near 1,000 to 2,500 lumens for urban or suburban supplementation, and use an independent switch to extinguish it when you meet traffic. For longer reach, prioritize high candela and a tight, controlled beam rather than maximum raw lumens. Check aim against a wall on level ground, then confirm the beam stays below oncoming drivers’ sightlines. Recheck alignment after changing mounts or suspension, and whenever you change a lamp, mount, load, or your suspension setup.
Dusty Trail Visibility Examples
For moderate-speed dusty trails, target about 4,000–8,000 effective lumens from a wide flood or combo beam to reveal hazards before dust obscures them.
That range suits scanning ruts, rocks, and trail edges without concentrating all light in the dust cloud ahead. If dust thickens and white light scatters, amber lamps can improve contrast and reduce glare.
For faster dust runs, choose a tight 10–30° spot and plan for roughly 20,000–50,000 effective lumens to preserve useful throw. Higher mounting, such as a roof rack rather than a bumper, can extend effective distance and waste less light in near-field scatter.
Compare IES photometric data and candela, not raw chip-lumen claims: optics may reduce usable output by 8–15% or more, particularly when dust scatters the beam. Match beam pattern and speed to visibility, and slow down whenever the illuminated stopping distance falls short of the trail you can safely cover.
Preventing Auxiliary Light Wiring Overload
To prevent auxiliary-light wiring overload, size the circuit for electrical demand—not advertised lumen output—because high-output bars can draw substantial current and overheat undersized wiring. Use lumen targets to compare visibility, but size each circuit by watts and current.
Add every lamp on that circuit before you select components; a spot-and-flood pair can exceed a factory harness’s capacity.
- Run battery-to-relay-to-lights wiring in a gauge rated for the load and cable length.
- Place a correctly rated inline fuse near the battery; it protects the wire if a fault occurs.
- Use a dedicated relay, not a thin switch lead, to carry high-output LED current.
Check alternator capacity too, and choose controlled optics that meet your range needs without adding extras or creating voltage drop that dims lamps.
Post-Installation Beam Aim
After installation, aim each light so its beam pattern puts usable illumination on the trail instead of glare in the distance or treetops. Set aim by beam type and mount height: a roof bar near 72 inches usually needs less downward angle than a bumper bar near 24 inches for similar coverage.
- For a tight 10-degree spot, aim its center at the trail’s far zone; a few degrees of error can send light into the sky or foreground.
- For slow-speed technical terrain, keep a flood beam level enough to reveal nearby obstacles and lateral edges; don’t push it too far forward.
- On level ground, use a tape line or wall target to recheck aim after vibration or housing changes.
Conclusion
Choose off-road lights by terrain and speed, not by headline lumens alone. Compare effective output per lamp, select a beam pattern suited to the trail, and aim every light carefully to keep glare out of oncoming drivers’ eyes.
Check local limits, especially on public roads, and account for dust, wiring capacity, and total electrical load. After installation, test your setup at low speed and adjust it before relying on added brightness in demanding conditions.