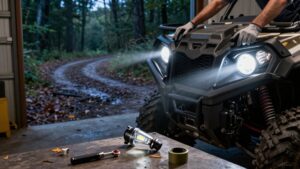
How to Install LED Headlight Bulbs Without Glare or Dash Errors
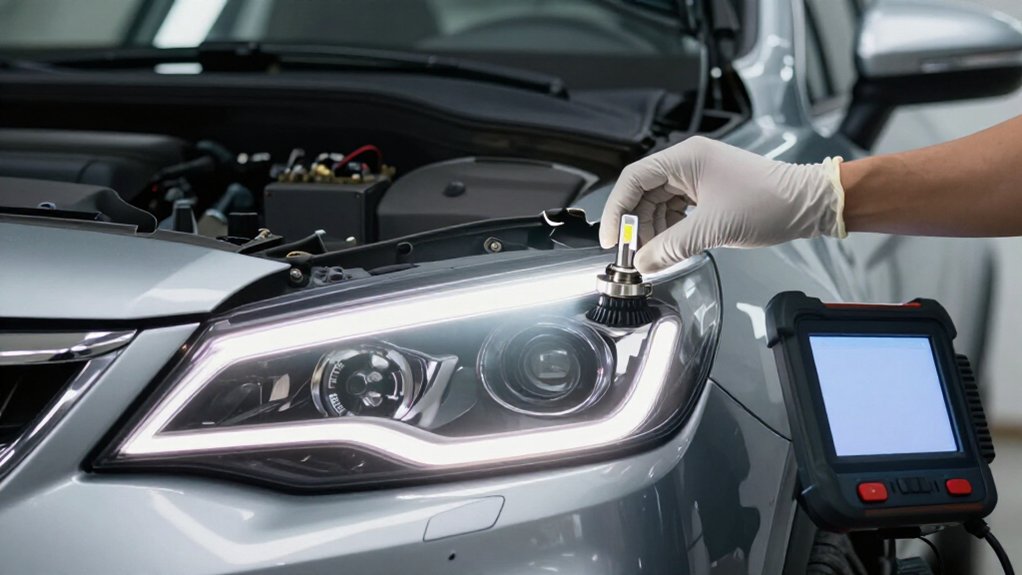
Match LED base, polarity, connector, and heat-sink clearance to your headlight. Cover tank and fairing, then disconnect the battery if required.
Release the clip and seat the bulb with emitters level and oriented for the reflector.
Route wires clear of sharp edges and steering stops. Check connectors and ground.
Test high and low beams before closing; confirm a controlled cutoff, no flicker, and no dash warnings.
Inspect seals for condensation; correct faults before driving. More checks follow.
Beam Pattern, Glare, and Dash Errors
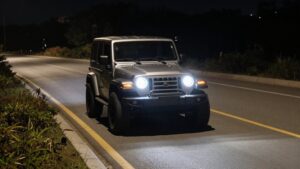
After installing LED bulbs, test the beam cutoff and alignment on level ground before reassembling the headlight. This check reveals whether the reflector produces a controlled pattern. Poorly designed halogen housings can scatter LED light even when the bulb operates, creating glare and reducing usable road illumination.
Confirm that the LED emitters sit in the orientation intended for the reflector optics; incorrect chip positioning can shift the cutoff and weaken effective brightness. Adjust aim according to your vehicle service procedure, then recheck cutoff height and lateral position from the specified distance. Don’t drive with an uncontrolled beam; correct the pattern before use.
If your dash reports a lighting fault or the lamp flickers, treat it as an electrical monitoring issue requiring diagnosis before riding.
Confirm Bulb and Socket Compatibility
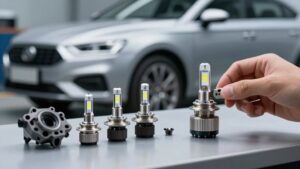
Once the beam pattern is controlled, verify that the LED bulb’s base type—such as H4/9003, H7, or 9005/9006—matches the headlight socket exactly. An incorrect fit can shift the emitter, distort cutoff, and create glare.
- Check polarity against the driver specification; reversed leads can cause flicker or monitored-system faults.
- Confirm bulb length and heat-sink clearance; interference with the housing or moisture boot can impair seating, alignment, or cooling.
- Match connector style and pin layout to your harness, and verify adequate wire-gauge compatibility to prevent intermittent contact, flicker, or warnings.
- If your motorcycle monitors the headlight, choose a CANBUS-rated bulb or the specified compatible resistor or relay.
Before energizing the circuit, seat the bulb fully and confirm the connector locks without force or pinching.
Step 1: Cover the Fuel Tank and Fairing
Before opening the headlight area, cover the fuel tank and fairing with clean towels or a protective blanket, and place a plastic sheet or absorbent pad below the housing to catch debris and grease.
Secure the covering so it won’t shift as you remove the headlamp or handle tools. It helps stop scratches from hardware and damage from drips. Keep tools and fasteners on a stable surface. Route LED driver wires clear of the tank and sharp fairing edges; pinched or worn leads can cause flicker or dashboard warnings.
Before closing the fairing, ensure the housing is dry and reseat any disturbed dust boots or seals to limit moisture entry. Remove all protection and confirm it doesn’t block LED heat sinks or cooling fins.
Step 2: Disconnect the Battery
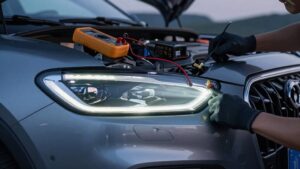
Turn off the ignition and disconnect the battery’s negative terminal before touching the headlight wiring to reduce the possibility of shorts, flicker, or CANBUS-related dash errors. Wait minutes after disconnecting so capacitors in the lighting or control modules can drain before you unplug the headlight harness. If your motorcycle uses an integrated lighting controller or CANBUS monitoring system, keep the battery disconnected throughout the bulb swap.
This prevents brief open or short signals from registering fault codes. Before restoring power, ensure the bulb and electrical connectors are fully seated; loose contact can cause intermittent flicker or warnings. Reconnect the negative terminal only after all connections are secured.
Then switch on the lights and check for steady illumination and a clear dash. If flicker or a warning appears, turn the lights off and inspect the connections before completing reassembly. Keep tools clear of exposed terminals to avoid accidental contact or short.
Step 3: Release Bulb Retaining Clip
With the battery disconnected and the headlight harness unplugged, release the retaining clip and seat it fully in the housing grooves.
Confirm it captures the bulb body evenly and holds it straight, rather than cocked. The clip should apply firm, even pressure to the bulb body, not the heat sink fins, which can interfere with alignment and cooling.
Gently rotate the installed bulb by hand to check for movement. If you feel any play, release the clip and reseat it; don’t accept a loose fit.
Recheck the clip again after any headlight re-aiming or tightening, since that work can shift the bulb and affect beam control, increasing glare.
Step 4: Seat the LED Emitter Horizontally
Align the LED emitter horizontally, typically with its chips facing left and right at the 9-and-3 positions, to match the headlight optics and limit stray light. Your bulb’s design may call for a different orientation, so treat 9-and-3 as a baseline, not a universal rule. Seat the base fully and evenly in the socket before locking the retainer; a tilted or partially seated base can shift the chips and distort the beam.
If the output looks uneven or spills upward, switch off the lights, allow the bulb to cool, then make a small rotation of the emitter. Recheck the fit after each adjustment, keeping the emitter level and secure. Correct alignment helps preserve usable illumination while reducing uncontrolled light that could distract other drivers.
Step 5: Verify Cutoff on a Wall
Once the emitter is level and fully seated, check the low-beam cutoff against a wall.
Park the bike 25 ft (about 7.6 m) from a wall. Measure and mark the headlight center height, then you’ll turn on low beam. Check that the cutoff looks crisp and level.
Keep the brightest portion below your height mark, or aligned with the housing’s step angle, to limit glare for oncoming traffic.
Compare both sides. If either cutoff rises, spreads upward, or looks fuzzy or uneven, the bulb or cap may be rotated or seated incorrectly. Realign it, then recheck the cutoff shape and horizontal position; even a rotation can increase glare. Select high beam and confirm its pattern increases without creating an upward flare above the wall cutoff line.
Step 6: Route Wires Away From Steering Stops
Route the LED harness away from the steering stops so turning the bars can’t pinch or fray wires and cause flicker or dash warnings. Add slack for steering and suspension movement, then secure the harness with clips or ties to the loom. Keep the bundle loose enough that it can’t tighten as the bars reach each stop.
Route wires on the side that avoids compression by the steering head or inner cowl. Tight bends there can damage insulation and raise resistance. Keep LED drivers, cable jackets, and grounds outside the stop zone to limit vibration and abrasion wear. Turn the bars left and right to their stops; inspect the wire path for contact or pinching. Cycle the ignition and confirm no dash errors appear.
Test High-Beam Operation
In a dark area, switch on high beam and check that the pattern stays controlled, with no light scattering upward into oncoming traffic.
Watch the road-facing beam on a flat surface; its cutoff should remain clean and stable as you toggle between low and high beam. If the lamp flickers, stop testing and diagnose the lighting circuit or ground before riding, since unstable power can disturb beam performance.
Let the LED driver reach its normal operating temperature, and confirm the output remains steady. Re-aim the headlight if the high beam misses the target or creates excessive glare; poor aim can waste usable brightness. Make only small bulb-orientation adjustments, then repeat the test and check for pattern shifts.
If your dash monitors lighting, verify that no warning appears after aiming or clocking changes. Don’t judge the beam from the rider’s position alone; inspect its projection against a wall.
Check for Loose Connectors
Check every LED headlight connection before final assembly: unplug and firmly reseat the driver plug and vehicle harness connector until each latch clicks. Inspect both plugs for bent pins, corrosion, or looseness before securing the assembly. Confirm the ground wire’s firmly connected, not merely touching. Route wires clear of the bucket and dust boot so nothing can pinch or pull a connector loose. Check retention.
| Check | Fault sign | Action |
|---|---|---|
| Pins | Corrosion or bending | Inspect and reseat |
| Ground | Dash warnings | Secure connection |
Before closing, switch on the headlight and test high and low beams. Watch for flicker, uneven output, cut-outs, or immediate dash warnings; these often indicate a poor connection. If symptoms remain, switch off power and correct the connector seating before completing installation.
Inspect for Condensation Buildup
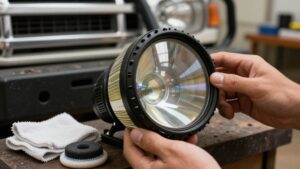
Inspect the headlight housing seals, dust boots, and rubber grommets before installing the LED bulb; cracks or poor seating can let moisture in and cause condensation on the optics.
After installation, check the lens and reflector for fogging after the first few heat cycles. Turn the bulbs on for five to ten minutes, then switch them off and inspect in a cool area. LED heat can draw trapped moisture outward and reveal buildup.
If you see condensation, reseat the dust boot or cover securely and protect the connector so water can’t wick along wiring into the housing. Keep the lens and internal surfaces clean and dry during inspection; trapped moisture and dust accelerate corrosion and scatter light, mimicking glare.
Persistent rain-fog on the reflector or lens signals a failed seal. Don’t reinstall the bulb or drive until you’ve corrected the leak and confirmed the housing stays dry. This protects bulb life and beam performance.
Conclusion
Before you finish, check the beam cutoff against a wall and confirm that neither oncoming drivers nor mirrors catch stray light. Recheck bulb and socket fitment, retaining clip security, and connector seating. Keep wiring clear of steering stops, then test low and high beams.
Inspect for condensation after the lamp cools. If you see glare, flicker, warning lights, or moisture, switch off the system and correct the cause; don’t ride. Secure covers and reconnect the battery.