
How to Remove Condensation From a Light Bar and Keep It Out
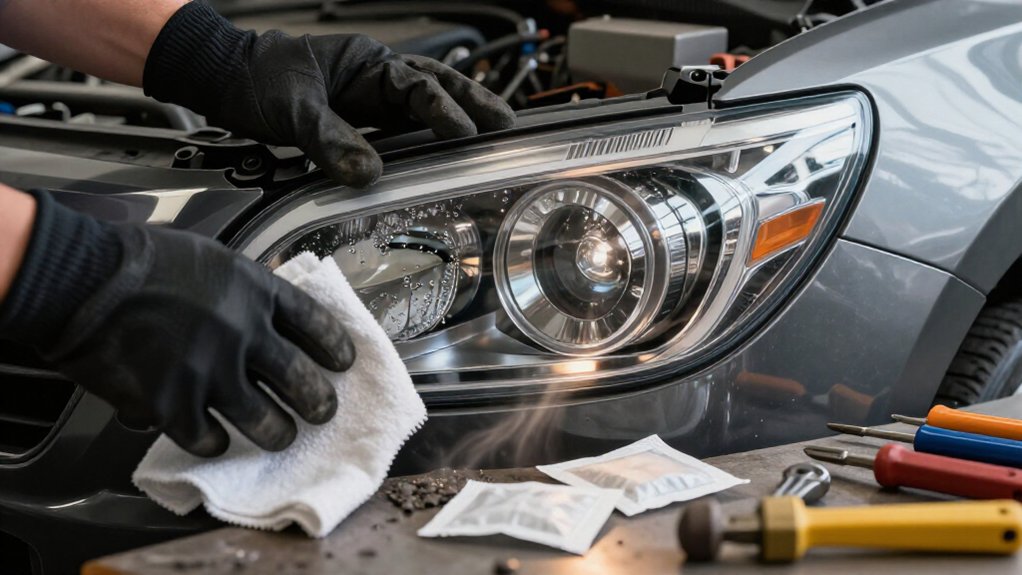
Switch off the light bar, disconnect power, and let it cool. Dry the exterior, then use its pressure-equalization vent only as the manufacturer directs; it exchanges moist air while resisting liquid water.
If permitted, loosen end-cap screws slightly to release trapped moisture, then reseal damaged seals with UV-stable sealant and allow full cure. Add silica gel away from wiring and heatsinks. Inspect for droplets or streaks, and check connections if flicker persists.
More prevention tips follow.
Light Bar Venting
If your light bar has a Military Pressure Equalization Vent, use it to exchange air while it’s designed to resist liquid water. Venting lets warm, moist air escape and draws in drier outside air, speeding evaporation and interrupting the condensation cycle behind the lens.
Follow the manufacturer’s instructions: run the vent for a few hours with the light bar off or on as specified, and check whether misty droplets diminish. Fine mist without streaks is typically condensation, so venting may help. Streaks or large droplets suggest water ingress; venting alone may not solve the problem, and you may need repairs.
When the interior clears, return the vent to its intended closed position to preserve water resistance and pressure stability. During operation, monitor conditions.
Silica Gel Packs
Silica gel packs absorb moisture from the air inside a light bar and can help reduce recurring condensation. Position the pack where air can circulate, ideally in or near the mounting cavity. Keep it away from the LED heatsink and wiring.
- Use an appropriate amount—often a small handful for the enclosure volume—to support a low-humidity microclimate.
- Replace or recharge packs regularly; humidity and repeated washdowns can saturate desiccant faster.
- If your bar has a pressure-equalization vent, don’t block it; silica gel may help between vent cycles.
Treat silica gel as supplemental control, not a cure: condensation can still form when warm internal air cools below the outside dew point. Disconnect power before opening the bar, and follow its instructions for recharging.
Step 1: Inspect Light Bar Seals
Inspect the light bar’s seals to find leak paths that let moist air inside. Visually inspect the lens-to-housing seal and any gasket or O-ring for cracks, gaps, flattening, or pinholes. These defects can admit humid air even when the lens appears secure.
Check mounting surfaces for dirt, then confirm the seal compresses evenly after installation; uneven pressure can create a leak despite an intact gasket. Look for moisture marks around screw holes, brackets, and connector penetrations, where poor sealing can bypass the lens seal. If fitted, check that the pressure-equalization vent isn’t blocked or damaged; it should equalize air without admitting liquid water.
Wipe the seal area dry and run the bar briefly. If condensation returns, suspect a compromised seal rather than ordinary heat-related moisture. Follow service guidance before replacing seals or applying sealant when expressly specified.
Step 2: Disconnect the Light Bar Power
Before handling the light bar, switch it off, disconnect its power, and let it cool; this reduces electrical risk and prevents heat from spreading internal droplets. If it’s been running, wait until the housing feels cool before you begin. Disconnect the plug or isolate the circuit according to the manufacturer’s instructions; don’t pull on the cable, which can damage wiring.
Keep the bar unpowered while you dry its exterior and address internal moisture. If the design includes a vent or pressure-equalization feature intended for moisture management, access it only as the manufacturer allows. Don’t power the unit to speed drying.
Once the internal mist has cleared or evaporated and the bar is dry, reconnect it. If operating heat contributed to condensation, LED heat may help evaporate residual moisture during normal use.
Step 3: Loosen the End-Cap Screws
If the manufacturer’s design allows it, carefully loosen the end-cap screws just enough to let trapped moisture escape. Use small, controlled turns, and stop as soon as the end cap opens slightly; don’t remove the screws or pull the cap away. This limited movement helps protect the seal and wiring while giving moisture a path out.
Choose a warm, dry period and allow airflow through the opening; avoid loosening hardware beyond what the manufacturer intended. If the end cap doesn’t move with pressure, stop and check the instructions rather than forcing access. Forcing it can damage surfaces or create a leak path, allowing water ingress instead of releasing condensation. Once the moisture has cleared, tighten the screws to restore the seal.
Step 4: Dry the Lens Interior
Once the light bar is reassembled and sealed, turn it on for a few hours so LED heat warms the lens interior and evaporates the moisture.
Heat may not clear trapped moisture quickly when cold or humid ambient air limits the temperature difference between the lens interior and its surroundings. To speed drying, place the light bar in a warm, dry location or in direct sunlight; added warmth and lower surrounding humidity support evaporation. Keep the unit stable and protect it from excessive heat that could damage the housing, wiring, or seals.
If your model has a compatible Military Pressure Equalization Vent, open it according to the manufacturer’s instructions. The vent exchanges air without admitting liquid water and can help moisture escape. Don’t open or modify a vent on a model that isn’t designed for it. Keep the nearby area dry. Reseal serviceable access points before use.
Step 5: Check for Lingering Fogging
After drying the light bar, run it for 30–120 minutes, then inspect the inside of the lens for lingering fog. Look for a fine haze; condensation usually appears as mist rather than streaks or large droplets. If haze remains after hours of operation, the LED heat may not be overcoming the temperature difference enough to evaporate trapped moisture.
Check for water ingress. Consistent streaks or large drops inside the lens suggest a seal failure, not simple condensation. If your light bar has a pressure-equalization vent, open it as designed, keeping liquid water out.
Store the bar in a warm, dry place or sunlight and check it the next day. Confirm the fog clears and doesn’t return.
Step 6: Reapply End-Cap Sealant
When inspection reveals a failed end-cap seal, remove the light bar from the vehicle, then clean and dry the end-cap area completely. Check the old sealant or foam for cracks, gaps, and openings around fasteners, wiring, or inserts. If it’s degraded, scrape it off completely; don’t apply new sealant over a failing layer.
Wipe the mating surfaces with an appropriate solvent, following its safety instructions, and let the end-caps reach ambient temperature before resealing.
Apply a continuous, even bead of water-resistant, UV-stable sealant rated for outdoor automotive use. Cover the entire mating surface and seal around wiring and insert points. Fit the end-cap firmly, then let the sealant cure for the manufacturer’s stated time, often several hours to 24 hours. After curing, run the bar and check for misting, droplets, or streaks behind the lens.
Check Beam Spread
With the end-cap seal restored and the lens dry, check the beam spread on a flat surface, aiming the light away from people and traffic. Run the bar and inspect the pattern across its full width; it should look uniform. Compare it with the specified spread, whether spot, flood, or combo. Watch for blooming edges or a softened cutoff, which can signal moisture remains inside the lens.
Note whether haze changes as the bar warms. If the beam tightens only after heating, residual mist may still be diffusing light. After drying measures or several hours of operation in warm, dry conditions, recheck the pattern. Confirm droplets haven’t permanently affected clarity. If blur persists, inspect the lens for streaks or large droplets indicating water ingress.
Intermittent Flickering After Rain
Why does a light bar flicker after rain? Moisture can bridge connectors, driver electronics, or mounting seals, changing conductivity. If bumps trigger flicker, suspect a loose ground or connection opening under vibration. Inspect wiring for cracked insulation and corrosion at terminals.
| Symptom | Likely concern | Your next move |
|---|---|---|
| Flicker in rain | Hidden moisture | Act before failure |
| Flicker over bumps | Loose ground | Secure connection |
Run the bar for hours to dry it; operate a pressure-equalization vent as designed, preventing liquid entry.
If it persists, measure supply and ground voltage under load with a multimeter; drops can cycle the LED driver. Reseat and seal connections using dielectric grease and waterproof heatshrink or boots. Streaks or droplets inside signal water ingress. Disconnect power before repairs; seek help if wiring remains unsafe.
Post-Wash Moisture Checks
After washing, let the light bar dry for a few minutes, then inspect behind the lens: a fine mist or tiny droplets without streaks usually indicate condensation, while streaks or large droplets suggest water ingress. Fine moisture without streaking often forms when sealed-in air cools after LED heat warms it. Run the bar on low or high for a couple of hours; LED heat can warm the interior and evaporate trapped moisture.
If it’s still hazy, place it in a dry, warm spot or direct sunlight; warmer, drier conditions outside the lens speed evaporation. If your model has a pressure-equalization vent, operate it as designed after washing to help moisture escape while minimizing liquid-water entry; don’t force it or open the housing, per manual.
Conclusion
Keep your light bar dry by addressing the cause, not just the fog. After disconnecting power, inspect vents, seals, and end caps; reseal only with compatible materials, then verify the beam pattern before driving. Don’t open a powered unit, and follow the manufacturer’s service guidance if water persists or flickering returns.
Check for moisture after rain and washing, and replace damaged seals promptly. These checks help protect the wiring, maintain visibility, and prevent repeat condensation.