How to Change a Fog Light Bulb (With or Without Removing the Bumper)
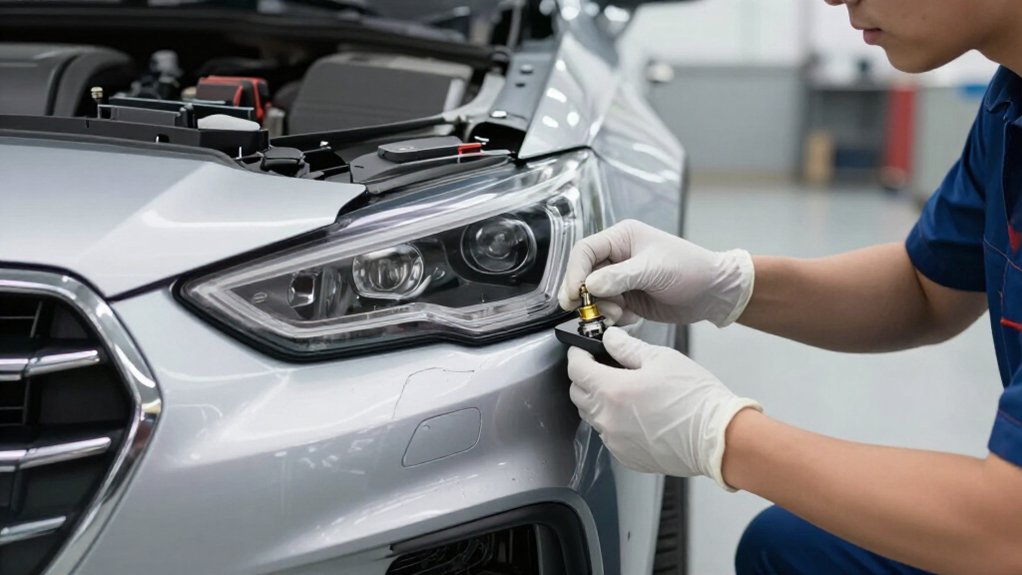
Check your owner’s manual or bulb number for the type and wattage before you start.
Park level, set the brake, switch off the lights, let them cool, and disconnect the negative battery terminal.
Reach the housing through an access panel or wheel well; remove a shield or bumper only if it blocks access.
Unplug the connector, twist the bulb counterclockwise, install the match, and test lamps.
The steps below cover reassembly, moisture checks, and spares.
Bulb Compatibility and Selection
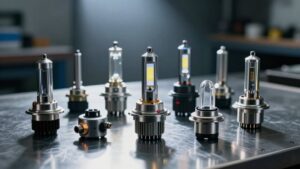
Before buying a replacement, check your owner’s manual or the number on the old bulb to confirm the exact bulb type and wattage. Different vehicles use different socket and bulb configurations across model years, so don’t assume a bulb that fits one version will fit yours. Verify the base or socket style and power rating before you purchase.
To avoid an incompatible replacement, match the old bulb’s part number to your vehicle’s specifications.
After confirming fit and rating, choose a shade that suits your lens and vehicle specification. Common options include cool white, soft white, and amber or yellow. Treat color as the final choice; the correct shade must still match your lighting setup.
Expect to pay about $15–$40 for a set, depending on brand and bulb type, including halogen and other technologies.
Bumper Removal Options
Access requirements vary by vehicle: you may be able to reach the fog lamp through a small access panel, the wheel-arch liner, or the shield beneath the front end, while some models require removing the bumper cover. Before choosing a route, inspect the vehicle and confirm what blocks the housing.
- Try the access panel or wheel-arch liner first; remove only the parts needed for clearance.
- If access is blocked, remove the underbody skid plate or shield; this can take about five minutes.
- For bumper removal, support the cover, then remove its screws and plastic push-rivets before easing it away.
- Use a plastic trim tool, not a flathead, to avoid marring trim or snapping clips.
Photograph the housing and connector orientation before disconnecting the socket.
Step 1: Disconnect Negative Battery Terminal
With the vehicle parked on level ground, the parking brake set, and the engine off, let the fog lights cool. Before working near the fog light wiring or socket, disconnect the battery’s negative terminal to reduce the risk of electrical shock or an accidental short.
Use a wrench to loosen the negative (,) terminal clamp. Lift the clamp off the battery post; don’t pull on the cable itself. Route the removed cable away from the battery so it can’t spring back into contact with the terminal.
Keep the cable clear while you replace the bulb. Reconnect it only after you’ve replaced the bulb and fully seated and reassembled the fog light housing and connectors. Then secure the clamp on the negative post with your wrench.
Step 2: Access the Fog Light Housing
Once the fog lights have cooled for 15–20 minutes, locate the housing low on the front bumper; you can usually reach it from behind the bumper cover or through the wheel well or underbody. Keep the engine and fog lights off. Use a flashlight or work light to see fasteners and clips.
Check whether you can reach behind the cover; otherwise, remove only the necessary wheel-well trim or front skid plate or shield. Set fasteners aside in order; you usually won’t need to remove the entire bumper. Before touching the socket, photograph its orientation for correct reinstallation. Locate the backing plate and note whether it has a twist-lock or retaining tab, but don’t turn or release it yet. Avoid forcing panels or stretching nearby wiring.
Step 3: Unplug the Bulb Connector
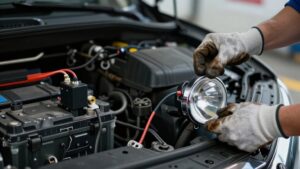
Before unplugging the bulb, confirm the fog lights are off, the bulb and housing are cool, and the parking brake is set with the engine off. Locate the bulb’s wiring harness at the rear of the fog lamp housing. Press the connector’s release tab or gently release its lock; pull the plug body, never the wires.
Before disconnecting it, take a photo of the connector’s orientation so you can reconnect it correctly. If the tab feels stuck, use a flathead screwdriver to lift it rather than yanking and risking a broken connector. Once unplugged, inspect the connector and pins for corrosion or moisture. Address contamination before fitting a replacement bulb, and don’t test the lights until the bulb and connector are seated.
Step 4: Twist Bulb Counterclockwise to Remove
After unplugging the connector, hold the bulb socket or housing firmly and rotate the bulb counterclockwise until you feel it release from the bayonet tabs. Reach the rear of the fog housing and keep your grip on the socket rather than pulling the wiring; yanking the connector can stress or break it. Once you feel a clear free, pause and confirm the bulb has fully unseated from the tabs before drawing it straight out.
If it resists rotation, don’t force it. Check that you’re turning the bulb in the correct direction and that it sits squarely in the socket. Let the housing cool completely, then realign the bulb and try again. Keep the removed bulb clear of the opening while you inspect the socket.
Step 5: Check Beam Aim Against a Wall
To check fog-light aim, park on level ground about 10–25 ft (3–8 m) from a wall and mark each lamp’s centerline height, measured from the ground. Measure from the ground to each lamp, then transfer those heights to the wall. Switch on fog lights only; the cutoff or brightest area should fall at or just below its mark, limiting glare for oncoming drivers.
If your housing has an aim adjuster, turn its screw or knob a quarter-turn at a time, checking the wall after each change. Match the beams left to right: their heights and lateral positions should be symmetrical within a few inches. Recheck with clean lenses and a load similar to normal driving, because changes in vehicle height can shift aim slightly.
Step 6: Reinstall the Wheel-Well Liner
Once the fog-light work is complete, reposition the wheel-well liner and align its clips and screw holes with the mounting points around the fender and bumper. Press each clip firmly by hand, or guide it with a suitable tool, until it snaps fully into place. If a clip resists, check its alignment rather than forcing it; a misaligned fastener can crack the plastic.
If you removed screws, return them to their original positions and tighten them only until snug to avoid stripping the plastic or over-torquing the fasteners. Check that the liner edge sits flush and overlaps around the fog-lamp access opening. This prevents tire contact and blocks water and debris. Before lowering it, pull on the liner to confirm it’s secure and doesn’t shift.
Confirm Both Lamps Illuminate
With the bulb and trim reinstalled, switch on the fog lights and check that both the left and right lamps illuminate uniformly; test while the vehicle is stationary in good lighting so you can see each beam clearly.
If one side stays off, switch the fog lights off. Recheck that the bulb and socket are fully seated: twist until they lock, or push until the tab clicks. Inspect the connector to ensure its tab holds securely.
Turn the lights on again and compare both beams through the lenses. Continue after tightening or reattaching bumper or under-tray panels; reassembly may shift a bulb or harness. If you replaced only one failed bulb, verify both lamps and consider replacing the pair to reduce repeat failures soon.
Condensation Inside Fog Light
Light fogging on the inside of a fog-light lens often comes from humid air entering through a poor seal, a loose rear dust cap, or temperature changes.
| Symptom | Likely cause | Action |
|---|---|---|
| Light fogging | Humid air or temperature shift | Monitor; bulb warmth may clear it |
| Heavy droplets | Active leak | Inspect seals; reseal or seek service |
| Recurring moisture | Loose cap, cracked gasket, missing clip | Reseat or replace parts |
Before you inspect anything, let the lamp cool fully; opening a hot housing risks burns and can damage brittle internals. Check the rear housing, dust cap, rubber gaskets, and clips for looseness, cracks, or gaps. After changing the bulb, seat its boot and socket connector completely. Minor mist usually clears as the bulb warms the housing; persistent wetness needs leak repair or professional service without delay.
Store a Spare Bulb
Keep an extra fog light bulb that matches your vehicle’s specified bulb type and wattage, listed in the owner’s manual.
Choose the listed bulb number as well; matching type and wattage helps ensure proper fit and light output. Select the color temperature or finish you prefer, cool white, soft white, or amber/yellow, so the replacement maintains a consistent beam appearance.
Keep the bulb in its original protective packaging, and handle it only by the base. Skin oils can reduce a halogen bulb’s service life, so don’t touch the glass. If you’re replacing one bulb, consider keeping a spare for the other side as well; replacing both together is often recommended.
Store the spare in your vehicle or toolbox, and add its part number to a note.
Conclusion
Once you’ve fitted the correct bulb, secure the connector and housing, then reinstall the wheel-well liner or bumper if you removed it. Reconnect the battery and switch on both fog lamps to confirm they illuminate evenly.
If you spot condensation, inspect the seal and housing for damage before driving in poor visibility. Keep a compatible spare bulb in your vehicle, and follow your owner’s manual for model-specific access, aiming requirements, and safety precautions.